
DIY Garden Bench Ideas That Save Money and Look Better Than Anything You Can Buy
I built my first DIY garden bench on a Saturday morning using a pile of reclaimed scaffold boards, a bag of screws, and a borrowed circular saw. The total material cost was $22. When a garden designer friend visited two weeks later, she asked which brand had made the bench. I told her I had built it from scaffold boards and she spent a full minute examining the joinery before accepting that I was not joking. That experience established one of my most firmly held gardening convictions: a well-designed DIY garden bench built from the right materials in the right proportions will outperform and outlast most purchased alternatives at a fraction of the cost, and will produce a satisfaction in use that no purchased bench ever quite replicates.
DIY garden bench ideas use commonly available timber, reclaimed materials, concrete, bricks, and basic woodworking tools to create outdoor garden benches at material costs of $15 to $150 depending on the design chosen, providing homeowners with a personalised, well-proportioned outdoor seat that suits their specific garden dimensions, style, and material preferences more precisely than any stock product available from a retailer. The DIY approach also allows the bench height, width, depth, and back angle to be adjusted for the specific user’s physical proportions, which no manufactured bench accommodates.
Since that scaffold board Saturday, I have built, designed, and tested DIY garden benches across many different materials, skill levels, and garden styles. I have seen complete beginners produce excellent first DIY bench results, and I have also seen experienced woodworkers build DIY benches of genuine craftsmanship quality from free materials.
In this article, I am sharing the best DIY garden bench ideas covering every skill level, material option, and budget from zero cost to $150.
Simple Outdoor Wooden Bench Plans: The Classic DIY Build
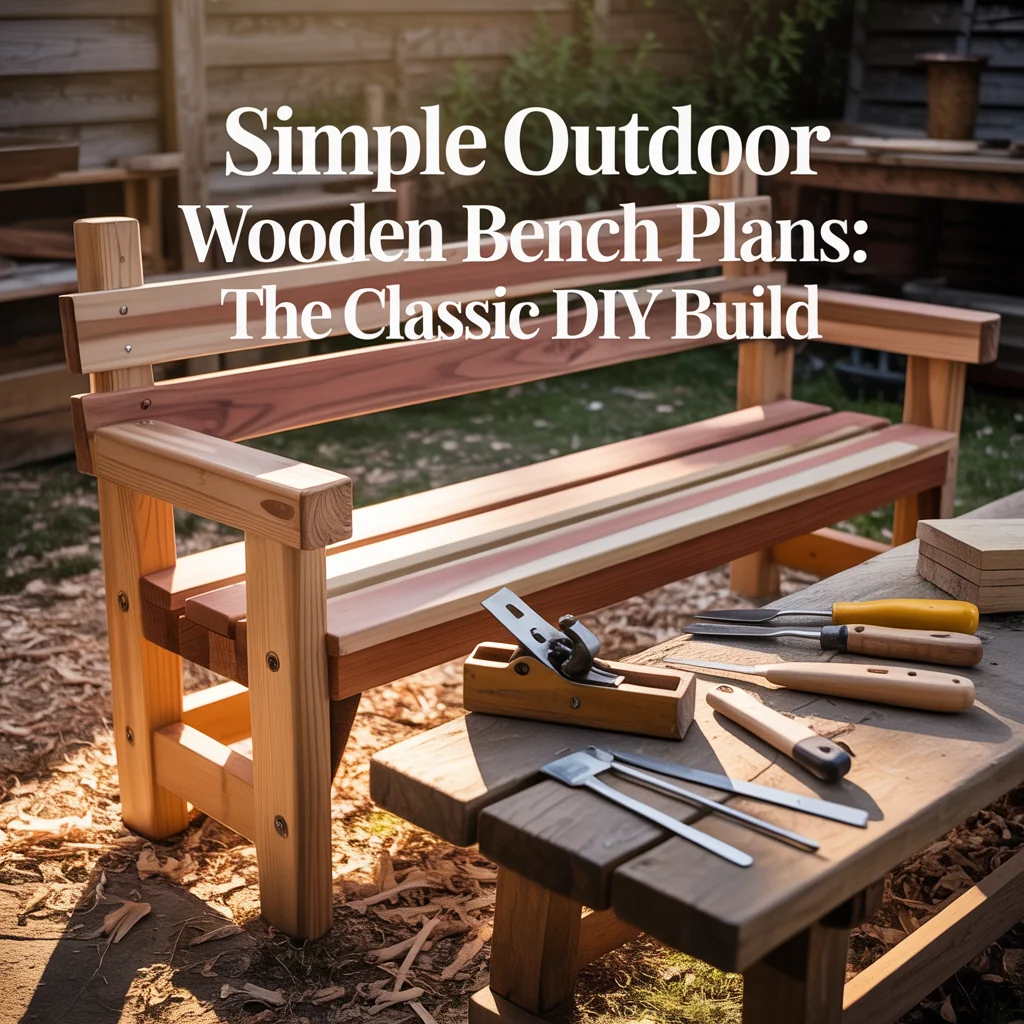
A simple outdoor wooden bench using pressure-treated 2-by-4-inch and 1-by-4-inch softwood is the standard beginner DIY garden bench build, requiring only a circular saw, drill, tape measure, and exterior screws to produce a structurally sound, comfortable outdoor bench at a material cost of $35 to $55. I use this design as the entry-level DIY garden bench for all homeowners asking how to build a simple bench for the first time, because the four-leg, two-rail, slatted-seat construction requires no complex joints, no specialist tools, and no prior woodworking experience beyond the ability to cut a straight line and drive a screw.
Simple Outdoor Wooden Bench Plans: Cut List
The cut list for a simple outdoor wooden bench of 48-inch length and 18-inch seat height contains eleven pieces from standard dimensional pressure-treated softwood. Four corner legs of 2-by-4-inch section at 18-inch length. Two long side rails of 2-by-4-inch section at 48-inch length. Two short end rails of 2-by-4-inch section at 12-inch length. Five seat boards of 1-by-4-inch section at 48-inch length at 10mm gap spacing across the 18-inch seat width. All eleven pieces cut from four 8-foot lengths of 2-by-4-inch and two 8-foot lengths of 1-by-4-inch material at a total material cost of $28 to $45 before screws and hardware.
Simple Outdoor Wooden Bench Assembly Sequence
A simple outdoor wooden bench is assembled in five steps in the following sequence. First, attach the two short end rails between pairs of legs at 16 inches from the bottom of each leg using two 75mm exterior screws per joint driven at opposing angles to resist racking. Second, connect the two completed leg assemblies with the two long side rails fixed to the outer leg faces at 16-inch height using two 75mm screws per joint. Third, check the assembled frame for square by measuring diagonally in both directions and adjusting until both measurements match. Fourth, attach the five seat boards across the top of the side rails at 10mm spacing using two 50mm exterior screws per board at each crossing. Fifth, sand all exposed edges and apply exterior finish. Once the basic structure is complete, plenty of inspiration for styling and positioning it is covered in these charming garden bench ideas to recreate as a DIY project.
DIY Outdoor Bench With Back: Adding a Backrest

A DIY outdoor bench with back extends the simple wooden bench design by raising the two rear legs to 36-inch height above the seat surface and adding two horizontal back rails and three to five vertical back slats to provide lumbar and upper back support during extended outdoor sitting sessions. I build the DIY outdoor bench with back as the preferred version over a backless design on all residential garden projects because the addition of a backrest transforms a functional outdoor seat into a genuinely comfortable outdoor bench that encourages extended use, and the additional material cost of the back components is $8 to $15 on a standard 48-inch DIY bench.
Free Outdoor Bench Plans: Back Rail and Slat Specification
The back component cut list for a DIY outdoor bench with back adds six pieces to the simple bench cut list. Two rear legs of 2-by-4-inch section at 36-inch length above the seat level, replacing the standard 18-inch rear legs of the backless design. Two horizontal back rails of 2-by-4-inch section at 48-inch length fixed to the inner face of the two extended rear legs at 4 inches and 20 inches above the seat surface. Three vertical back slats of 1-by-3-inch section at 18-inch length fixed to the front face of the two horizontal back rails at equal spacing across the 48-inch bench width. The back angle is set at 5 to 10 degrees from vertical by cutting the top of the rear leg at the corresponding angle before assembly.
Back Angle for a Comfortable DIY Outdoor Bench With Back
A back angle of 5 degrees from vertical, 8 degrees, and 10 degrees are three back angle options suited to a DIY outdoor bench with back. A 5-degree back angle produces the most upright seated position and suits a DIY bench used primarily for active garden tasks including tool cleaning, plant labeling, and potting work where an upright seated posture is more appropriate than a reclined relaxation angle. An 8-degree back angle produces the most universally comfortable seated position for extended outdoor sitting on a garden bench used for both conversation and relaxation, which is why I specify 8 degrees as the standard back angle on all DIY outdoor bench with back projects. A 10-degree back angle produces a more relaxed, reclined position. Anyone wanting to adapt this kind of seating into a functional workspace will find further guidance in these best potting bench ideas you can build yourself.
DIY Outdoor Bench With Bricks: No Woodworking Required
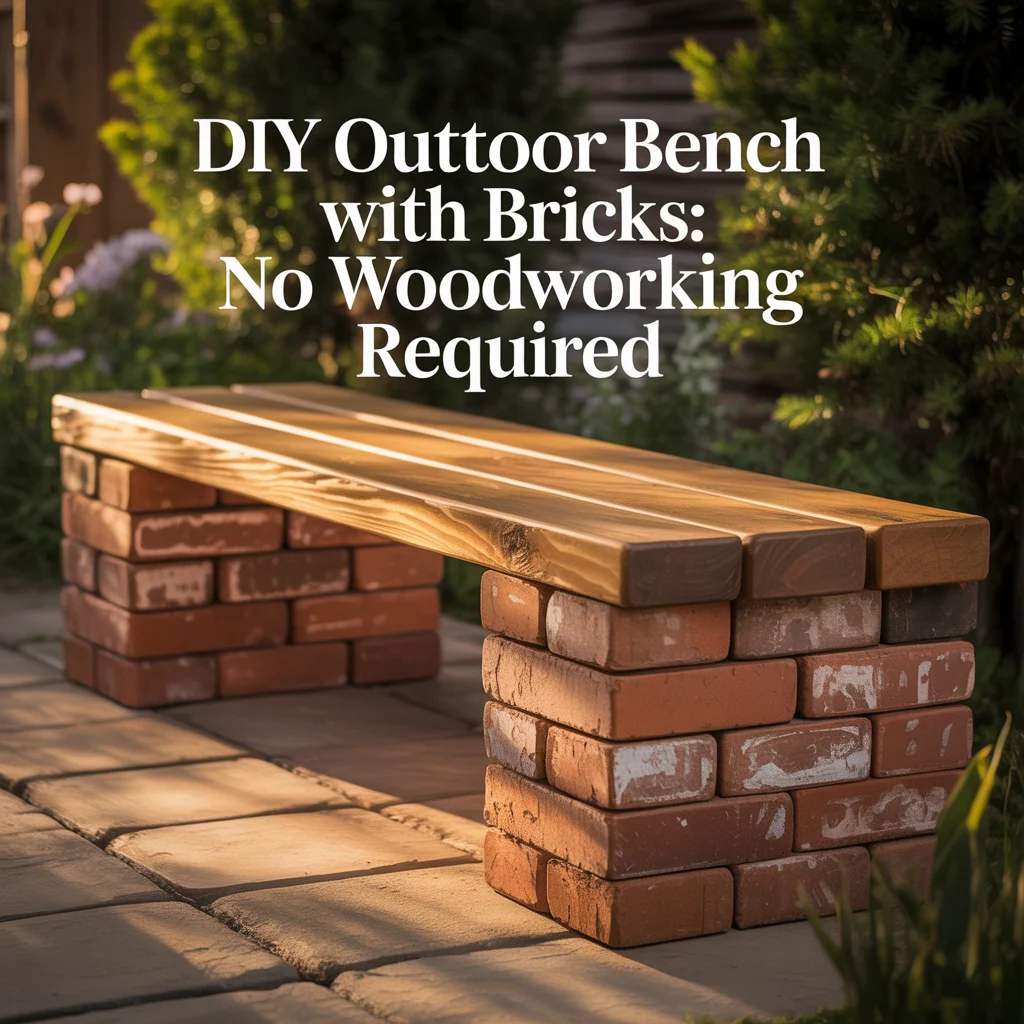
A DIY outdoor bench with bricks uses stacked brick columns as the bench leg structure, eliminating all structural woodworking from the construction and producing a permanent, weather-resistant outdoor bench from materials available at any builders merchant without any specialist tools beyond a trowel, spirit level, and a bag of mortar. I built a brick-leg DIY garden bench for a homeowner with no woodworking tools or skills, using two stacked brick columns of eight courses at 18-inch height as the bench legs and a single 3-inch-thick sandstone slab as the seat, and the completed brick and stone bench required zero maintenance in four years of outdoor use.
Brick Column Construction for a DIY Garden Bench
A brick column bench leg for a DIY outdoor bench with bricks uses a standard brick of 215mm by 102mm by 65mm in a running bond pattern, with each course of four bricks offset by half a brick length from the course below to produce a stable interlocked column. Each column measures 215mm by 215mm in plan and reaches 18-inch total height in eight courses of 65mm brick plus 10mm mortar joints. I mix mortar for brick bench leg columns at a 3:1 sharp sand to cement ratio, producing a mortar stiff enough to support each brick course without slumping before the mortar sets. Twelve hours of curing time between the fourth and fifth courses prevents the lower column from being overloaded before the mortar achieves adequate early strength.
Seat Materials for a DIY Brick Leg Garden Bench
Natural sandstone slab, reclaimed York stone, and a pressure-treated timber board seat are three seat materials suited to a DIY outdoor bench with brick legs. A natural sandstone slab of 3-inch thickness and 18 to 24-inch width provides a warm, naturally weatherproof seat that sits directly on the top brick course without any fixing hardware at a cost of $15 to $35 depending on slab dimensions. Reclaimed York stone provides an immediately aged, character-rich seat surface at $8 to $25 from architectural salvage yards. A pressure-treated timber board of 3-by-9-inch section at the required bench length provides a warm, comfortable seat surface that requires only annual oil treatment and sits on the brick columns fixed with two stainless steel dowels per column end.
DIY Pallet Wood Garden Bench
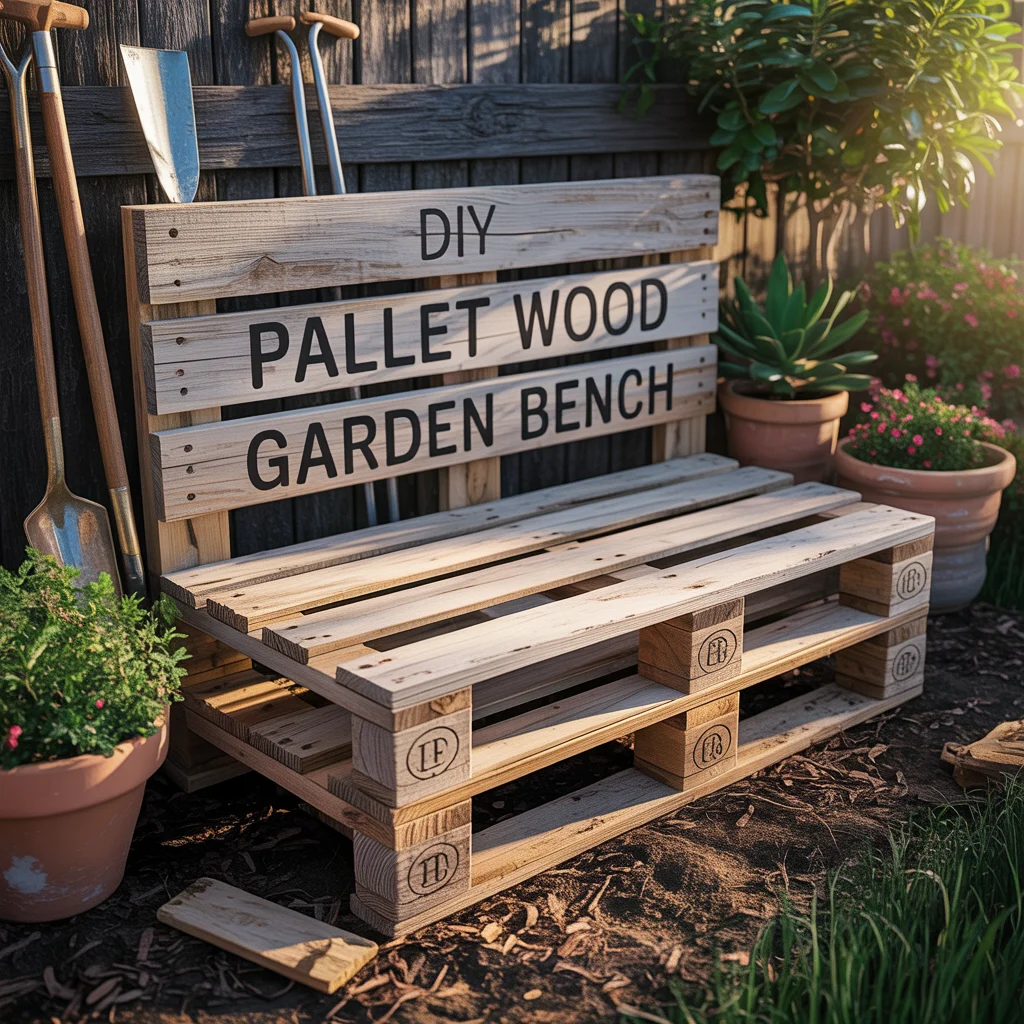
A DIY pallet wood garden bench uses standard 1,200mm by 800mm wooden pallets as the primary structural and surface material, reducing the total material cost of a DIY garden bench to near zero by sourcing free pallets from local garden centers, builders merchants, and online free listing platforms. I built a complete 48-inch DIY garden bench using three wooden pallets and $6 in screws, and the finished bench photographed virtually identically to a purchased timber bench in the completed garden setting without any additional surface treatment beyond a single coat of exterior deck oil on the pallet deck boards.
Sourcing Free Pallets for a DIY Garden Bench
Garden centers, builders merchants, and Facebook Marketplace free listings are three sources for free wooden pallets suited to a DIY garden bench. Garden centers receive plant deliveries on wooden pallets and regularly give surplus pallets to requesting gardeners, providing the most relevant and cleanest pallet source for a DIY garden bench because plant delivery pallets are free from chemical contamination unlike some industrial pallet types. Builders merchants accumulate timber pallets from block, beam, and stone deliveries and give pallets to customers on request. Facebook Marketplace free listings in any residential area regularly list wooden pallets available for collection, often providing a wider variety of pallet sizes than garden center or builders merchant sources.
Pallet Garden Bench Assembly Method
A pallet DIY garden bench is assembled using two pallets stood vertically on their long edges as the bench frame sides and one pallet placed flat across the top as the seat surface. The two vertical frame pallets are positioned at 48-inch center-to-center spacing, aligned parallel to each other and square by measuring diagonally. The flat seat pallet is placed flat across the top edges of the two vertical pallets and fixed using four 75mm screws driven through the seat pallet deck boards into the top edge of each vertical frame pallet. I reinforce the seat pallet of all DIY pallet garden bench builds with two 2-by-4-inch timber rails screwed under the seat deck boards along both long edges, which prevents the individual deck boards from flexing under the weight of two seated adults on the completed DIY bench.
Railway Sleeper DIY Garden Bench
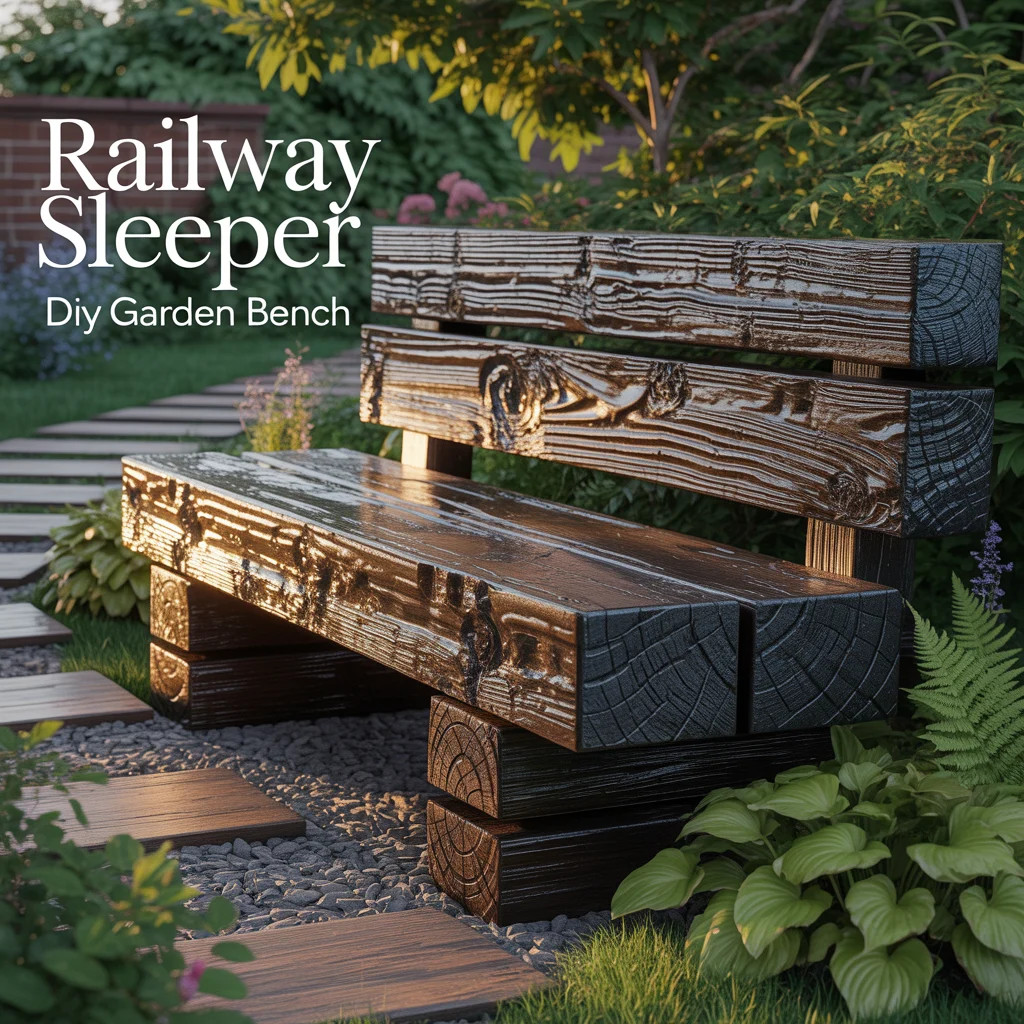
A railway sleeper DIY garden bench uses new or reclaimed timber railway sleepers as both the structural legs and the bench seat, producing a robust, naturally durable outdoor bench of considerable visual weight that suits informal, cottage, and kitchen garden settings. I built my most-used DIY garden bench from two reclaimed oak sleeper half-sections as the legs and a single full-width sleeper on edge as the seat, fixing the seat to the legs with two 150mm structural screws per joint, and the completed bench weighs approximately 60kg and has not moved by a single millimeter in three years of outdoor use.
New vs Reclaimed Railway Sleepers for a DIY Garden Bench
New oak sleepers and reclaimed railway sleepers are two primary material options for a railway sleeper DIY garden bench, with distinct differences in appearance, cost, and surface character. New oak sleepers at $18 to $28 each provide a clean, consistent timber surface free from old preservative residues, producing a lighter-toned, more refined-looking bench suited to a contemporary or formal outdoor garden setting where the raw, aged character of reclaimed material would be inconsistent. Reclaimed railway sleepers at $12 to $22 each provide an aged, textured surface with visible grain, weathering marks, and bolt holes from previous rail use, producing a bench with an immediately established, characterful appearance suited to a rustic, informal, or industrial-aesthetic garden setting.
Railway Sleeper Bench Design Options
A single-span sleeper bench, a sleeper bench with timber leg sections, and a sleeper and gravel gabion bench are three design options suited to a railway sleeper DIY garden bench. A single-span sleeper bench places one full-length sleeper on edge across two half-sleeper legs, producing the simplest and most structurally efficient DIY sleeper bench in a construction requiring only two cuts and four screws. A sleeper bench with additional timber leg sections uses half-sleeper sections as a lower base level and full sleepers as the seat, adding an intermediate height stage that suits a sloped garden site where a standard single-span seat height cannot be achieved without cutting the leg sections. A sleeper and gravel gabion bench uses gabion wire baskets filled with gravel as the bench legs.
Scaffold Board DIY Garden Bench
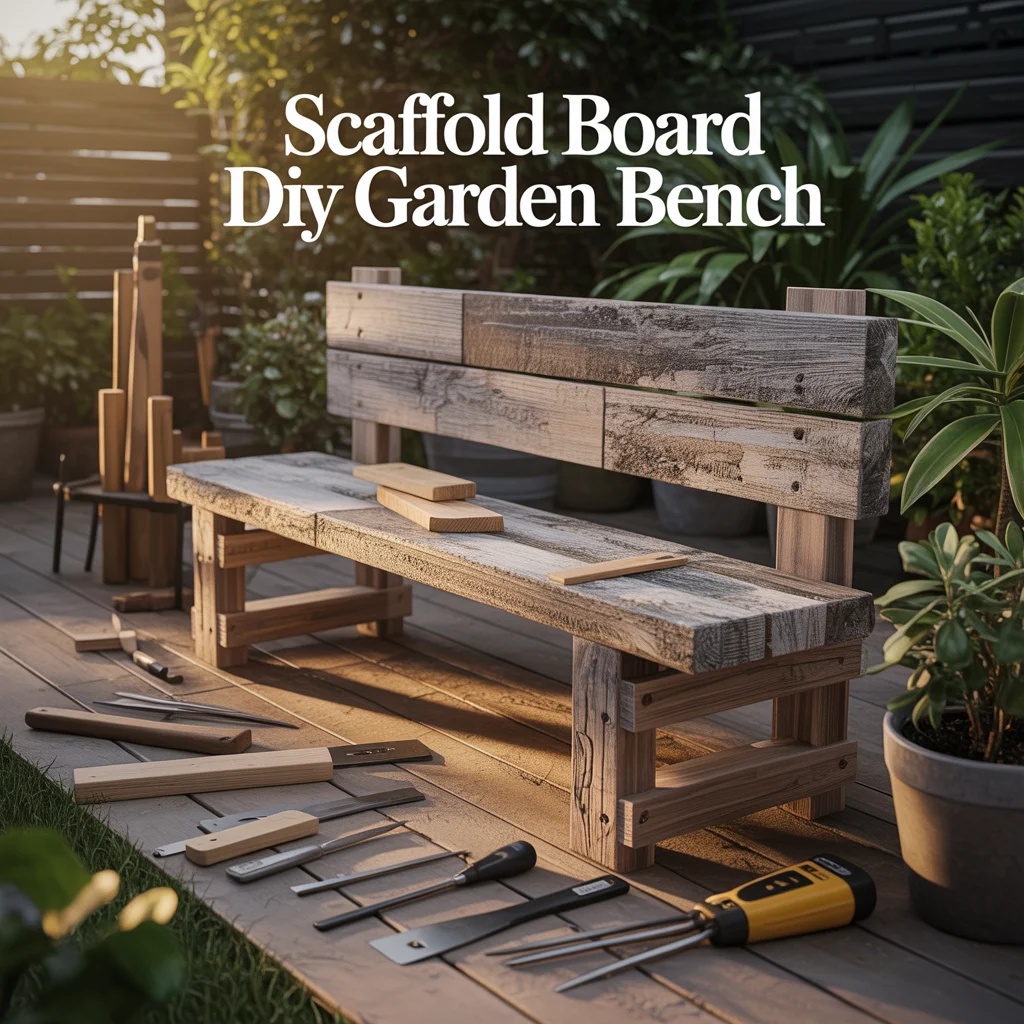
A scaffold board DIY garden bench uses reclaimed or new scaffold boards of 38mm by 225mm cross-section as the primary bench material, producing a bench of high structural quality and natural aged character from one of the most widely available and most affordable reclaimed timber materials in the UK and North American DIY market. I built six DIY garden benches from scaffold boards over five years and found the scaffold board bench to be the most consistently satisfying DIY bench build in terms of the ratio of time invested to quality of the finished result, because the wide board section produces a generously proportioned bench from a minimal number of components.
Scaffold Board Garden Bench Cut List and Dimensions
A scaffold board DIY garden bench of 48-inch length and 18-inch seat height uses seven scaffold board sections cut from three standard 13-foot boards. Four leg sections at 18-inch length cut from the end sections of two boards. Two seat boards of 48-inch length cut from two full boards. One lower stretcher rail of 48-inch length cut from a third board. The seat uses two scaffold boards placed side by side at 10mm gap spacing, producing a seat width of 18.5 inches including the gap. The lower stretcher rail connects the two leg pairs at 8-inch height above the ground and prevents racking under lateral load during outdoor use. Total material cost for a scaffold board DIY garden bench is $22 to $45 depending on whether new or reclaimed boards are used.
Finishing Scaffold Boards for a DIY Outdoor Garden Bench
Raw linseed oil, exterior deck oil, and exterior satin paint are three finishing approaches suited to scaffold board DIY garden bench surfaces. Raw linseed oil applied in a single coat to new or reclaimed scaffold boards provides a minimal finish that feeds the timber without significantly altering the natural surface color or texture of the board, preserving the honest, industrial character of the scaffold board material that makes this bench design appealing. Exterior deck oil in two coats provides a more durable moisture barrier that suits a scaffold board bench in a fully exposed outdoor position receiving direct rainfall without any overhead coverage. Exterior satin paint in a heritage color transforms the scaffold board bench into a more conventional outdoor garden bench idea appearance.
Concrete Block DIY Garden Bench
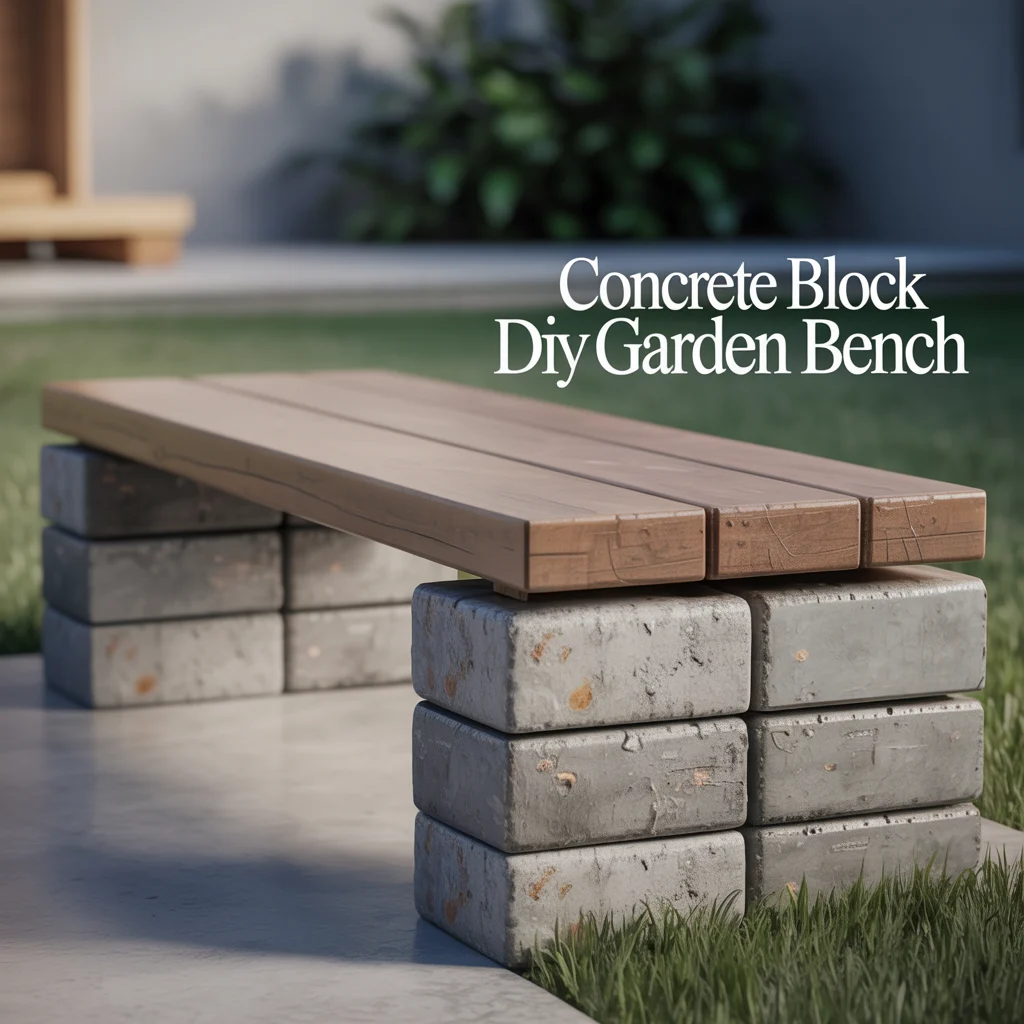
A concrete block DIY garden bench uses standard hollow concrete blocks as the bench leg structure without any mortar, producing a completely stable outdoor bench from a dry-stacked block column that requires no masonry skills, no mixing, and no curing time, at a material cost of $2 to $5 for the block components of a complete bench. I built a concrete block DIY garden bench in 25 minutes using six standard 440mm by 215mm by 100mm hollow concrete blocks arranged in two three-block columns with a scaffold board seat across the top, and the bench supported two adults simultaneously without any movement, wobble, or block displacement during four hours of garden use.
Dry-Stack Concrete Block Bench Column Construction
A dry-stack concrete block bench column for a DIY garden bench uses three standard 440mm by 215mm by 100mm hollow concrete blocks stacked flat in a running bond pattern to produce a column of 300mm height plus three 10mm-gap mortar joints providing a column height of approximately 330mm, which positions the seat board at 18-inch height above the ground when a 38mm scaffold board is placed across the top. The running bond pattern offsets each block by half its length from the block below, producing a column that resists toppling under lateral load more effectively than a stacked straight joint column. I fill the hollow cores of the top course of blocks with compacted gravel on all DIY concrete block bench columns, which prevents the seat board from pressing directly on the thin edge of the hollow block core walls.
Decorating a Concrete Block DIY Garden Bench
Exterior masonry paint, facing brick cladding, and climbing plant coverage are three decoration approaches suited to a concrete block DIY garden bench. Exterior masonry paint in a heritage color including Farrow and Ball Pavilion Gray, Down Pipe, or Railings applied in two coats on the concrete block column surfaces transforms the raw grey block texture into a sophisticated painted finish that suits a contemporary or period outdoor garden setting. Facing brick cladding uses thin brick slips adhered to the outer faces of the concrete block columns with exterior tile adhesive to produce a brick aesthetic that visually conceals the block structure. Climbing plant coverage allows Vinca minor or Hedera helix to grow over the block column faces.
Free Garden Bench Plans PDF: Beginner to Intermediate Builds
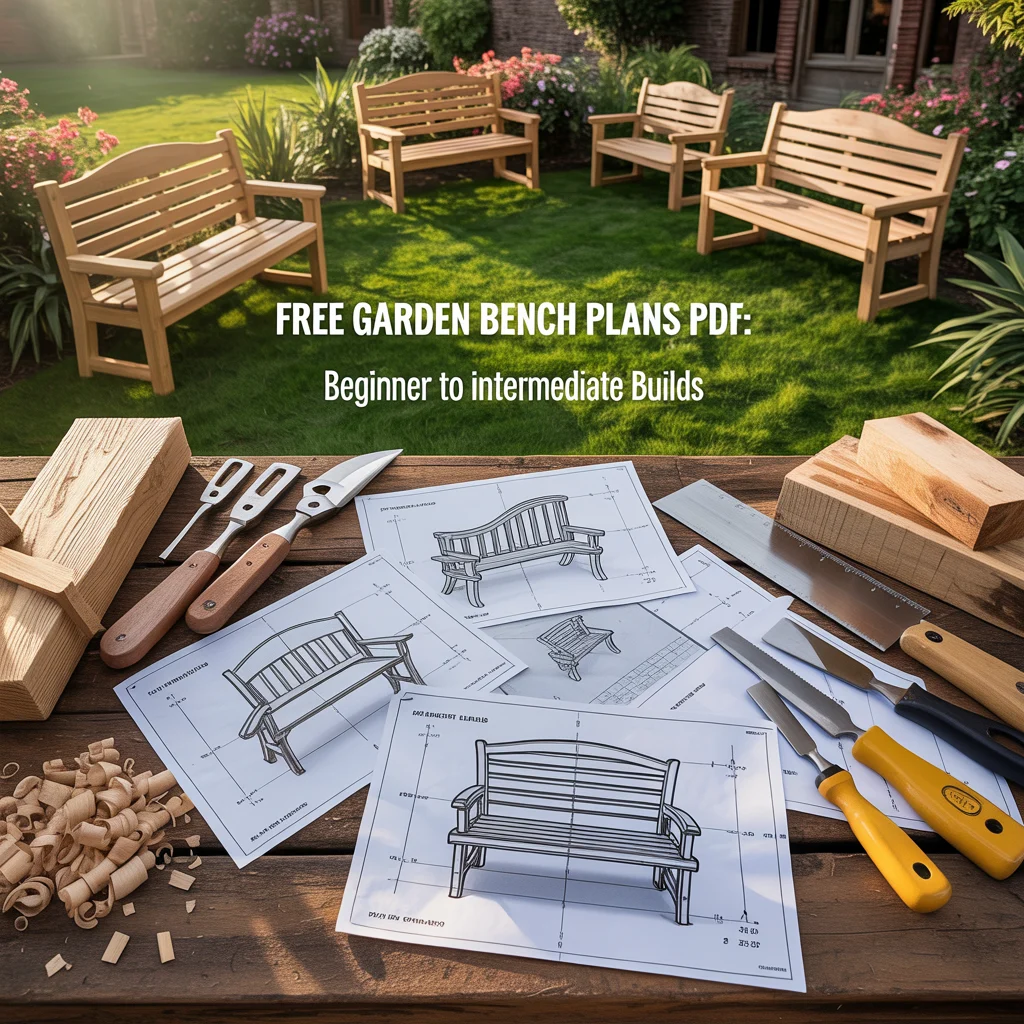
Free garden bench plans available as PDF downloads provide complete cut lists, assembly diagrams, and materials lists for DIY garden bench builds at beginner, intermediate, and advanced skill levels, eliminating the design planning stage of a DIY bench project and allowing a homeowner to move directly from plan download to material purchase and construction. I have designed and used DIY garden bench plans at all three skill levels and find that the quality of the plan document is the single most important factor in the success of a first DIY bench build, because an unclear plan produces material waste, joint errors, and structural problems that a clear plan prevents entirely.
What a Good Free Garden Bench Plan PDF Contains
A complete cut list, a materials and hardware list, an exploded assembly diagram, a step-by-step construction sequence, and a finished dimensions drawing are five elements that distinguish a useful free garden bench plan PDF from an inadequate one. A complete cut list specifies every timber section by exact length, width, and thickness with the quantity of each piece required, allowing the homeowner to purchase the correct amount of material without waste. An exploded assembly diagram shows every component and its position in the complete assembled bench from an isometric viewing angle that makes the spatial relationships between components clear without requiring the reader to interpret a two-dimensional elevation drawing.
Online Sources for Free Outdoor Bench Plans PDF
Ana White, Fine Homebuilding, and Family Handyman are three websites providing free outdoor bench plans in PDF format for DIY garden bench builds. Ana White at anawhite.com provides beginner-friendly free garden bench plans PDF at multiple bench styles from simple slatted designs to farmhouse-style benches with backs, with each plan including a complete cut list, step-by-step photographs, and a reader comment section where previous builders describe the modifications they made to the original design. Fine Homebuilding at finehomebuilding.com provides intermediate to advanced free bench plan PDF content with professionally drawn technical diagrams and detailed construction notes. Family Handyman at familyhandyman.com provides beginner-level simple outdoor wooden bench plans with video tutorial supplements.
DIY Garden Bench With Armrests
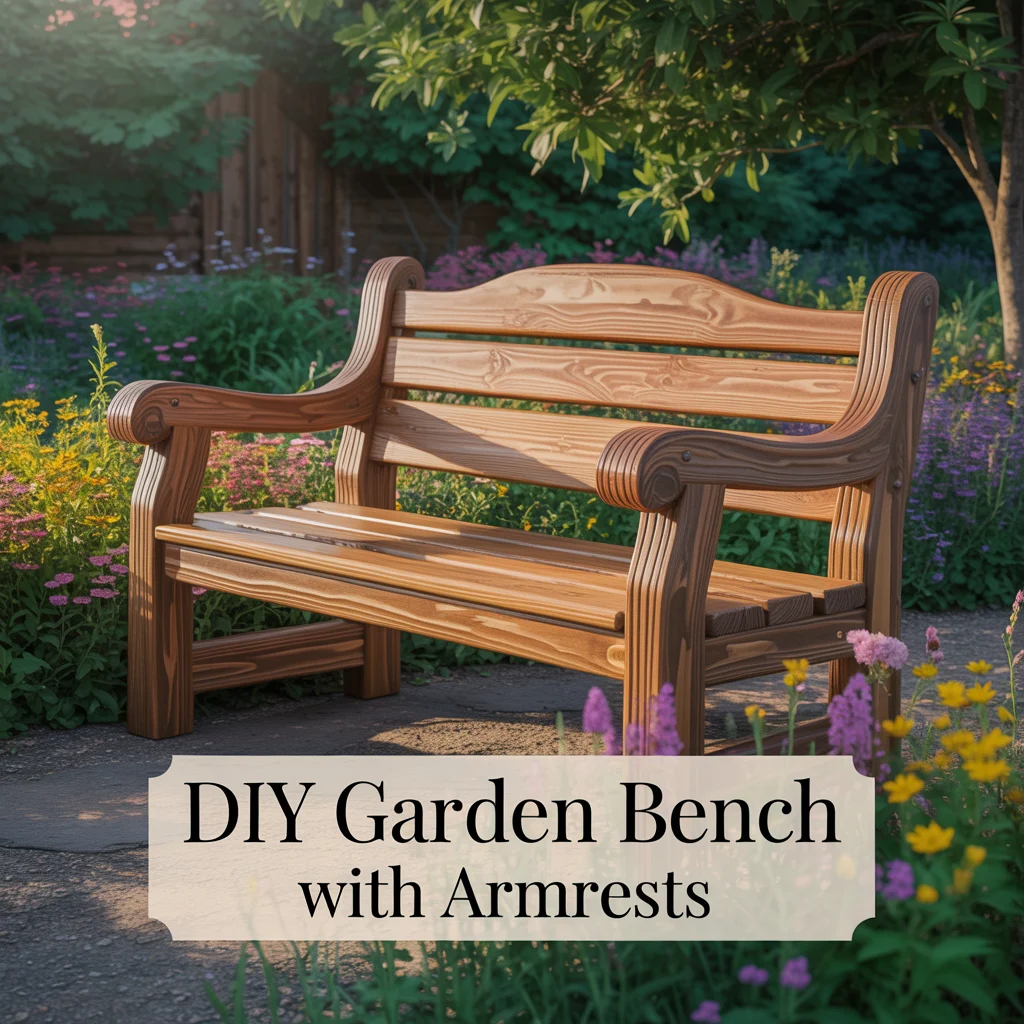
A DIY garden bench with armrests uses two horizontal arm sections of 2-by-6-inch timber extending forward from the rear leg face at seat plus 8-inch height, supported by a front arm post of 2-by-4-inch section, to add a comfortable gripping and resting surface on both sides of the bench seat that improves the usability of the DIY garden bench for extended outdoor sitting, eating, and resting. I add armrests to all DIY garden bench designs where the bench is intended for elderly users or for use as a primary outdoor dining bench, because the armrest provides both a comfort surface and a standing-assistance grip point that significantly improves the bench’s practical value for older garden users.
Armrest Dimensions for a DIY Garden Bench
An armrest width of 3 to 4 inches, a length of 12 to 18 inches from the rear post face, and a height of 8 to 10 inches above the seat surface are three key dimensions suited to a DIY garden bench armrest. A 3-inch-wide armrest provides a functional gripping width for assistance during standing and a comfortable resting surface for a forearm during seated use. A 4-inch width provides a more generous resting surface and suits a bench where the armrest is also used as a surface for placing a drink or small book during outdoor sitting. The 12 to 18-inch armrest length forward projection allows a full forearm of 12 to 14 inches length to rest on the armrest surface without the elbow projecting beyond the rear post face.
Armrest Joint Options for a DIY Garden Bench
A simple butt joint with screws, a halved joint, and a mortise-and-tenon joint are three joint options suited to connecting the armrest to the rear leg post of a DIY garden bench. A simple butt joint using three 75mm exterior screws driven through the armrest into the rear leg post face provides adequate structural strength for most residential DIY garden bench armrest loads of 30 to 50kg downward force and costs zero additional material beyond the screws already specified for the bench assembly. A halved joint cuts a 1-inch-deep recess in the top of the rear leg and the matching undersurface of the armrest inner end, producing a mechanical joint that resists vertical shear forces better than a simple butt joint at the same screw specification.
DIY Garden Bench Using Pallets With a Back
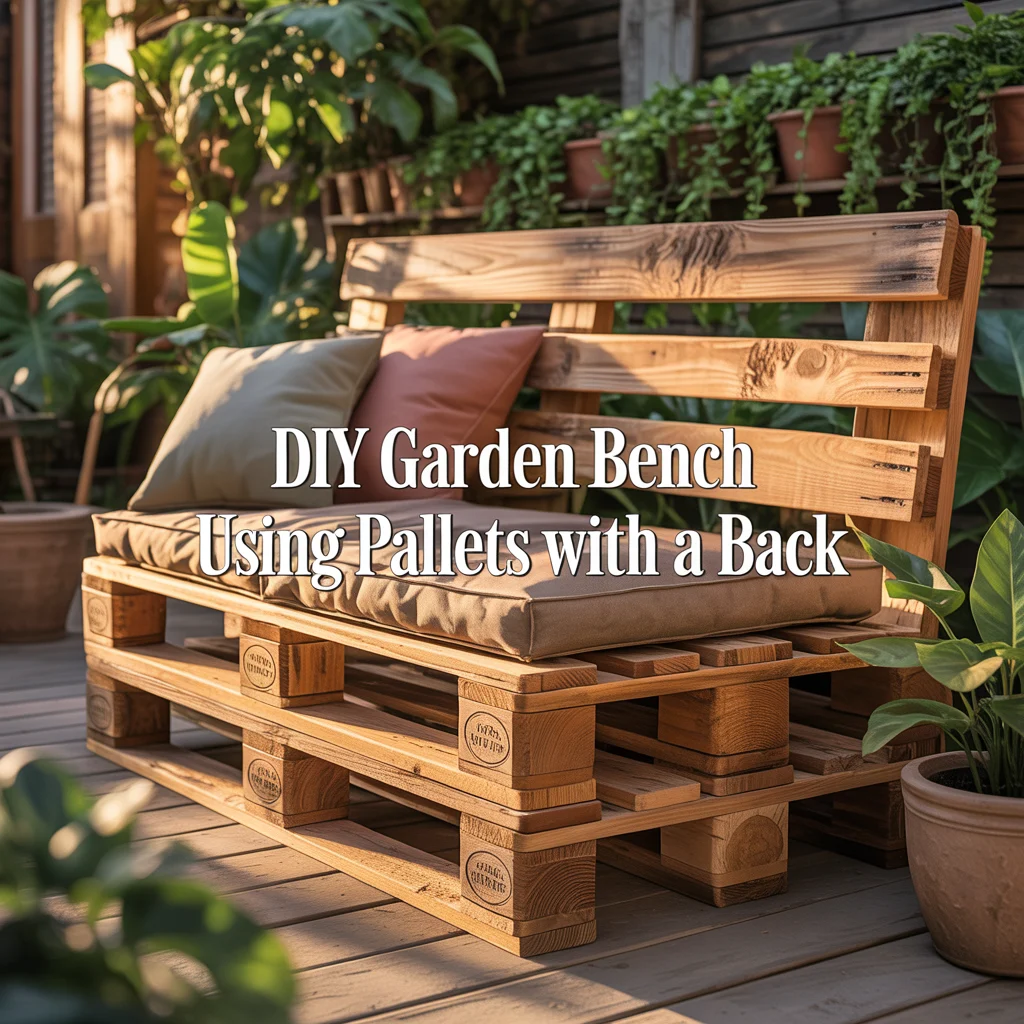
A DIY garden bench using pallets with a back adds a vertical back pallet or a set of back slats cut from pallet deck boards to a standard pallet bench construction, converting a backless pallet seat into a fully supported garden bench with back that suits extended outdoor sitting rather than purely functional temporary seating. I built a DIY pallet garden bench with back for a school outdoor classroom project using two vertical pallets as the frame sides, one horizontal seat pallet, and one vertical rear pallet as the backrest, fixing all components with 75mm screws throughout, and the completed bench provided comfortable seated support for three 8-year-old pupils during a 40-minute outdoor lesson session.
Pallet Bench With Back Assembly Options
A full vertical pallet backrest, a partial back from pallet deck boards, and an angled slat back cut from pallet components are three back construction options for a DIY pallet garden bench. A full vertical pallet backrest uses a complete pallet stood vertically behind the seat pallet and fixed to the two vertical frame pallets, producing a full-height back of 48-inch height that provides complete upper body support but appears visually heavy relative to the seat section. A partial back using three to five pallet deck boards of 48-inch length fixed horizontally to the two vertical frame pallets at 4-inch vertical spacing above the seat surface produces a more visually balanced back that provides lumbar and mid-back support. An angled slat back sets the deck board slats at 8 degrees from vertical.
Painting a DIY Pallet Garden Bench With Back
Exterior masonry paint on raw pallet wood, exterior fence paint, and chalk paint sealed with exterior varnish are three painting approaches suited to a DIY pallet garden bench with back. Exterior masonry paint applied with a wide brush in two coats over raw, lightly sanded pallet wood provides the most affordable full coverage finish at $8 to $12 per liter covering approximately 10 square feet per liter. Exterior fence paint in dark oak, forest green, or slate grey provides a pre-colored, pre-preservative treated outdoor bench finish that requires no primer coat and costs $6 to $10 per liter. Chalk paint in a heritage color sealed with exterior varnish produces the most Pinterest-appropriate matte finish for a decorated pallet garden bench.
Log Slice and Plank DIY Garden Bench

A log slice and plank DIY garden bench uses cross-section slices of tree trunk as the bench legs and a single wide timber plank as the seat surface, producing the most naturalistic DIY garden bench design available from a garden-sourced or zero-cost material when a tree has been felled in the garden during maintenance or storm clearance. I built this bench after felling a dying apple tree in my own garden, cutting four rounds from the main trunk at 18-inch height and 16-inch diameter and using a single 3-inch-thick oak shelf board as the seat, and the finished log-and-plank bench had more personal significance than any bench I have purchased or built since.
Selecting Logs for a DIY Garden Bench
Stability, diameter consistency, and species durability are three log selection criteria for a DIY garden bench. Stability requires selecting log rounds that sit flat on their base without rocking, which means identifying rounds from the straightest section of the felled trunk where the end grain rings are concentric rather than offset. Diameter consistency requires the four bench leg rounds to be within 10mm of each other in height so the seat board rests level across all four points without any shimming. Species durability determines the expected outdoor lifespan: oak and sweet chestnut rounds provide 15 to 20-year durability outdoors, softwood rounds provide 3 to 8 years, and treated softwood rounds provide 10 to 15 years.
Seat Board Options for a Log-Leg DIY Garden Bench
A solid hardwood slab, a glulam timber panel, and a scaffold board seat are three seat board options suited to a log-leg DIY garden bench. A solid hardwood slab of 3-inch thickness cut from an oak, ash, or elm tree provides the most naturally appropriate and most durable seat material for a log-leg bench, with a live-edge or sawn edge profile providing character that coordinates with the log leg aesthetic. A glulam timber panel of 45mm thickness produced by laminating narrower boards provides a dimensionally stable seat that resists warping better than a single solid slab of the same width, suited to a wide seat of 20 to 24 inches where a single solid board would show significant seasonal movement.
Two-Hour Beginner DIY Garden Bench
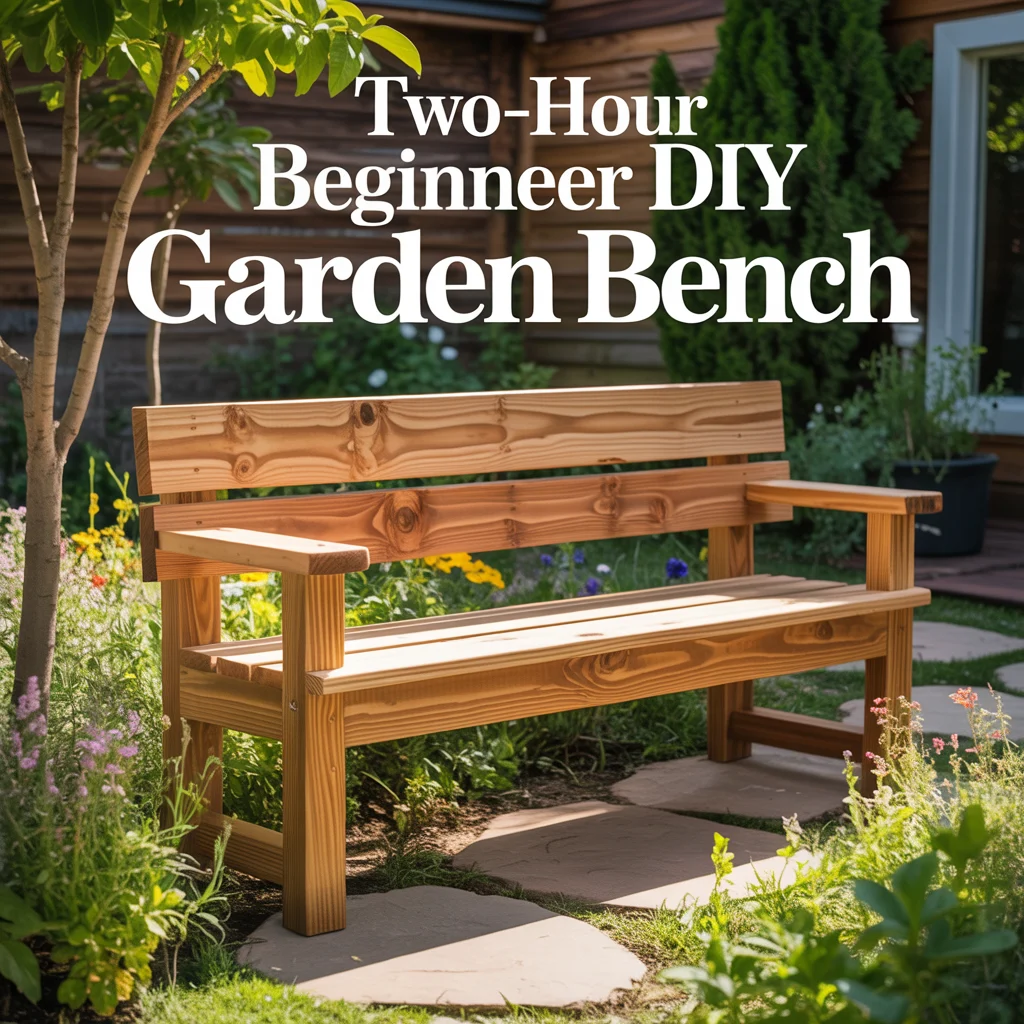
A two-hour beginner DIY garden bench uses the simplest possible construction method and the minimum necessary components to produce a functional, presentable outdoor bench in a single short building session, specifically designed for homeowners who have never built outdoor furniture before and want to complete a first successful DIY bench project in a single afternoon. I teach this bench design as the entry point for all first-time DIY bench builders, and find that successfully completing a two-hour bench in an afternoon produces the confidence and practical understanding needed for all subsequent DIY garden bench projects regardless of complexity.
Two-Hour DIY Bench Material List
A two-hour beginner DIY garden bench requires four pieces of 2-by-4-inch pressure-treated timber and one piece of 2-by-10-inch timber, all purchased cut-to-length from a standard home improvement store to eliminate any cutting requirement at home. The four 2-by-4-inch pieces measure 18 inches each as the bench legs. The single 2-by-10-inch piece measures 48 inches as the one-board seat. The tool requirement is a drill, a countersink bit, and eight 75mm exterior screws. Total material cost is $18 to $28 depending on timber prices. Assembly time is 45 to 90 minutes. The one-board seat bench is the simplest functional DIY garden bench possible, using a single wide board as the complete seat surface across four standard-section legs.
Two-Hour Bench Assembly Steps
Step 1 through Step 4 are the four assembly steps for a two-hour beginner DIY garden bench. Step 1: countersink two holes in each short end of the 2-by-10-inch seat board, 2 inches from each end and 1.5 inches from each long edge. Step 2: position one pair of 2-by-4-inch legs 2 inches from one end of the seat board, checking square with a triangle, and drive two 75mm screws through the countersunk holes into the leg top faces. Step 3: repeat Step 2 at the opposite end of the seat board with the remaining pair of legs. Step 4: check the assembled bench stands level on a flat surface, sanding any high leg faces if rocking occurs. Sand all exposed edges. Apply exterior finish to the full surface.
How to Build a Simple Bench With Decorative Details
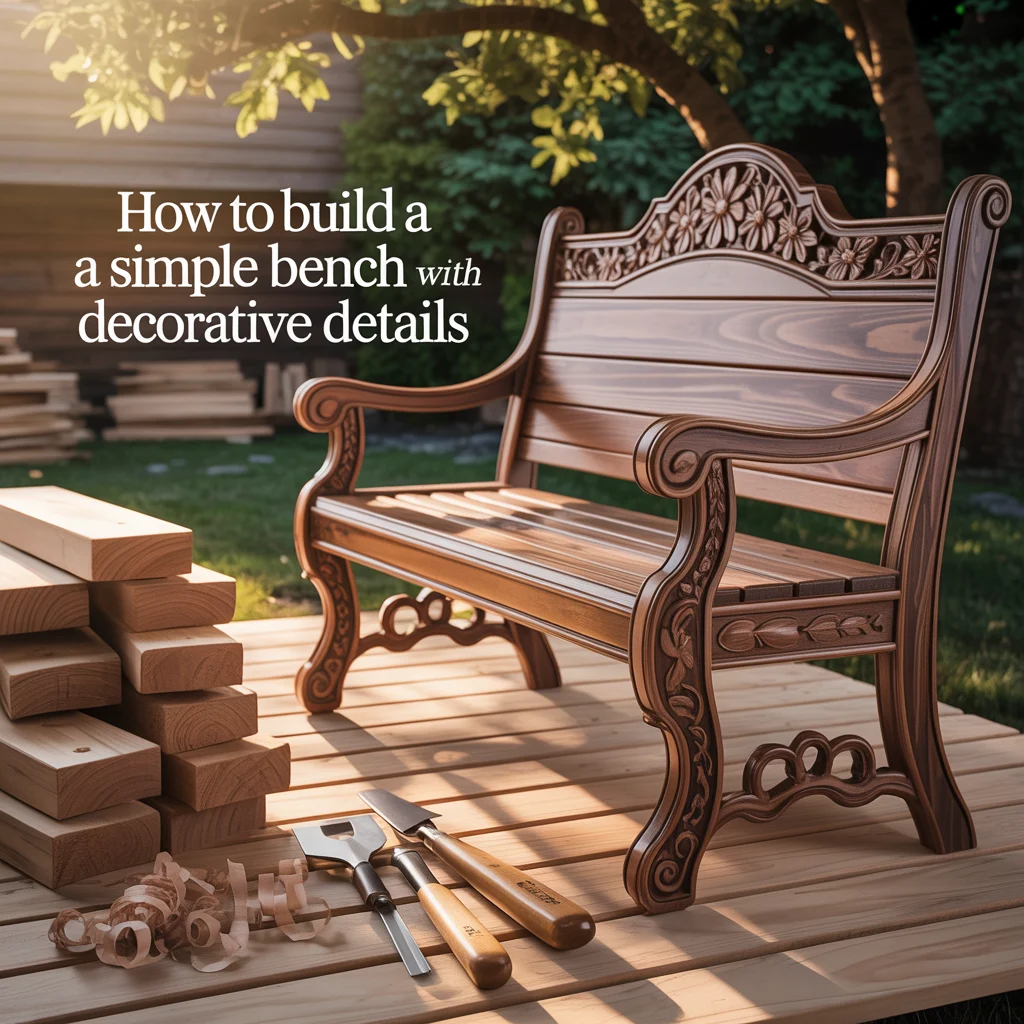
Understanding how to build a simple bench and then apply decorative details to the basic structure allows a homeowner to produce a personalised DIY garden bench that suits their specific garden aesthetic by adding carved details, painted motifs, shaped seat edges, or decorative back splat elements to a structurally simple bench frame, creating an individual result that no purchased bench provides. I apply decorative details to the simple outdoor wooden bench plan as the standard upgrade on all client DIY bench projects where a personalised finish is wanted above the basic functional result of the plain design.
Decorative Edge Profiles for a DIY Garden Bench
A rounded edge using a router with a round-over bit, a chamfered edge cut with a block plane or router chamfer bit, and a shaped front edge cut with a jigsaw are three decorative edge profile options suited to a DIY garden bench seat and back boards. A round-over profile of 12mm radius on the top and side faces of all seat boards eliminates the sharp 90-degree corner of a square-cut board, producing a comfortable seated edge that does not pressure-mark the thigh during extended sitting and gives the DIY bench a professionally finished appearance. A chamfered edge at 45 degrees produces a more angular, contemporary decorative detail that suits a modern DIY garden bench design.
Painted Decorative Details for a DIY Garden Bench
A stenciled botanical motif, a hand-painted bench name or quote, and a two-tone painted scheme are three painted decorative detail approaches suited to a DIY garden bench. A stenciled botanical motif using an exterior paint and a pre-cut acetate stencil of a leaf, flower, or geometric pattern applied to the bench back rail or seat surface produces a personal decorative detail that takes 20 minutes to apply after the base coat has cured. A hand-painted bench name or short quote using a fine artist’s brush and exterior paint on the bench back rail produces a literary or personal decorative detail at zero additional material cost. A two-tone painted scheme using one color for the frame and a contrasting color for the seat boards produces a designed, intentional outdoor bench appearance.
DIY Garden Bench With Under-Seat Storage
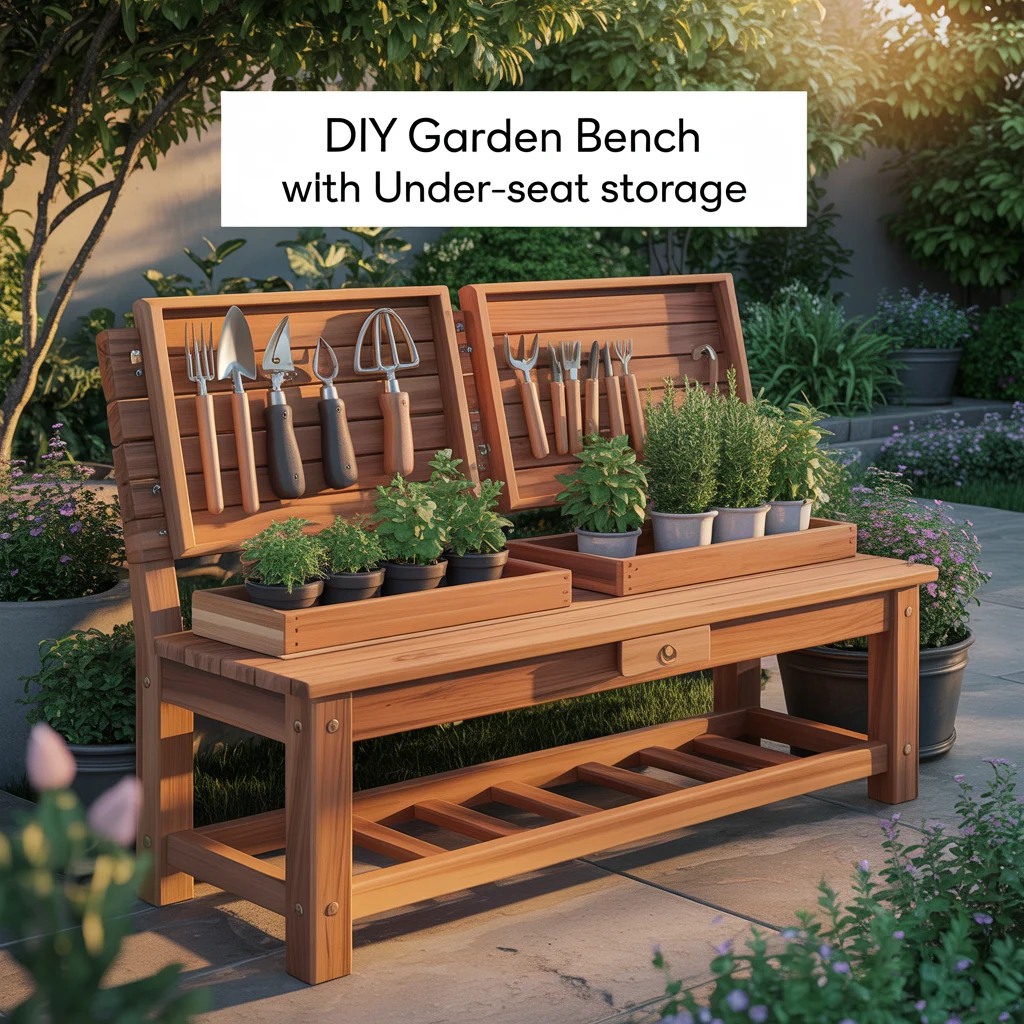
A DIY garden bench with under-seat storage extends the simple bench design by adding a hinged seat lid over a weatherproof storage box base, providing 40 to 80 liters of outdoor storage for garden cushions, tools, and accessories directly at the bench position. I build a storage base DIY garden bench as the preferred outdoor bench design for any garden where storing seat cushions between outdoor sessions is a priority, because the hinged storage base eliminates the daily task of carrying cushions between the house or shed and the garden bench seat during the outdoor season.
Storage Box Construction for a DIY Garden Bench
A DIY garden bench storage base uses 18mm exterior-grade plywood for all four box sides and the box base, joined with glued butt joints reinforced by 2-by-2-inch timber corner cleats at each internal corner. The box dimensions for a standard 48-inch DIY storage bench measure 48 inches in length, 16 inches in width, and 16 inches in height, producing a storage volume of approximately 70 liters when the internal dimensions of 44 by 12 by 14 inches are calculated after allowing for the 18mm plywood wall thickness. I seal all interior plywood surfaces with two coats of exterior polyurethane varnish before box assembly, which prevents moisture penetration into the plywood core from condensation inside the closed storage box during cold outdoor weather.
Weatherproofing the Hinged Lid on a DIY Storage Bench
A weatherproof hinged lid on a DIY outdoor garden bench storage box requires a closed-cell foam compression gasket of 15mm by 15mm cross-section bonded into a routed groove at the perimeter of the box top edge, which provides a compressive seal between the lid and the box when the lid is closed. The gasket compresses by 30 to 40% of its unloaded dimension when the lid is closed and the two stainless steel barrel bolt clasps are engaged, producing a seal that prevents driving rain penetration during outdoor exposure. I use a stainless steel piano hinge of 48-inch length for the full seat lid of all DIY storage bench builds rather than two individual hinges, because the continuous piano hinge distributes the lid weight and opening forces evenly across the full hinge length rather than concentrating them at two fixed points.
Advanced DIY Garden Bench: Mortise-and-Tenon Joinery
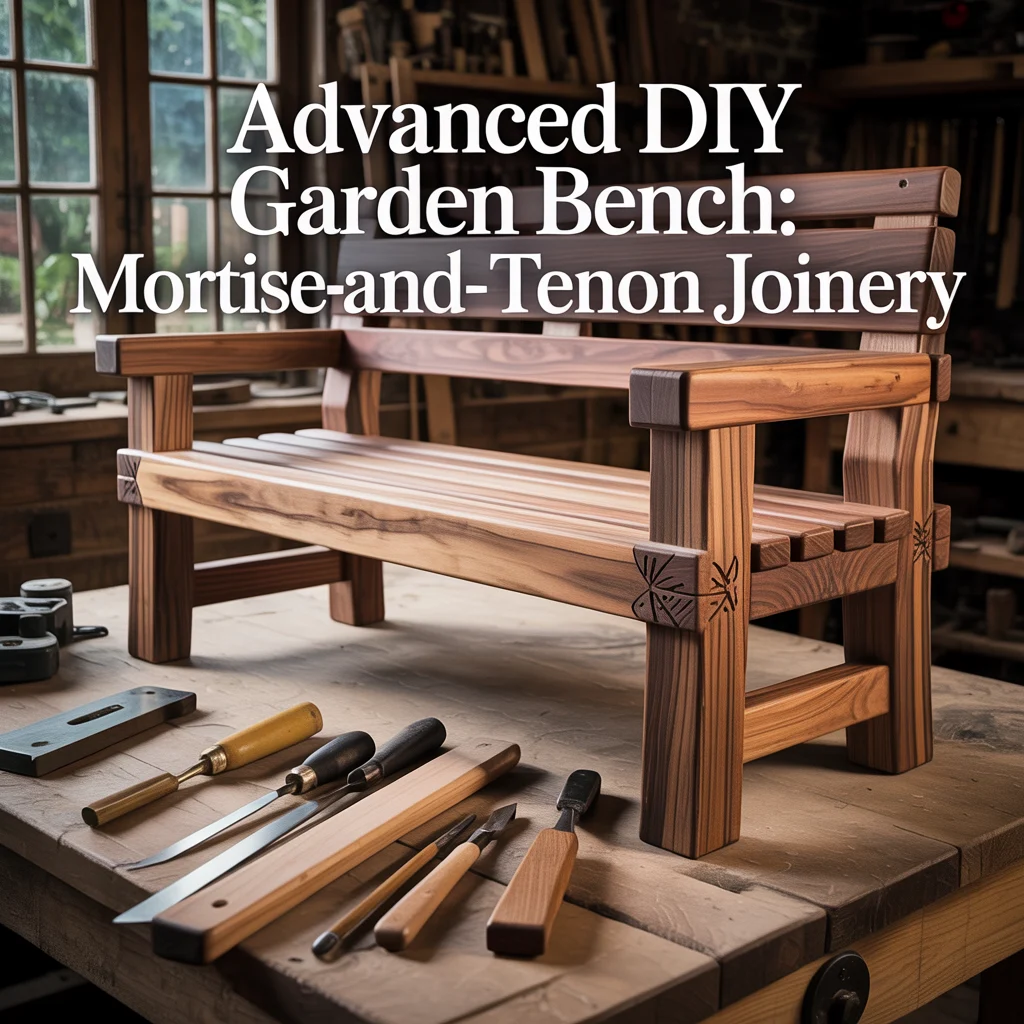
An advanced DIY garden bench using mortise-and-tenon joinery replaces the screw-fixed butt joints of a beginner bench with traditional woodworking joints where a projecting tenon cut on the end of one component fits into a corresponding mortise cut in the face of the receiving component, producing a joint of significantly greater mechanical strength and durability than any screw fixing at equivalent timber dimensions. I build mortise-and-tenon jointed DIY garden benches for homeowners who want a bench that will last 30 to 50 years in outdoor conditions and who are prepared to invest 8 to 14 hours of construction time rather than the 2 to 4 hours of a screw-fixed design.
Mortise-and-Tenon Joint Dimensions for a DIY Garden Bench
A tenon of one-third timber thickness, two-thirds timber width, and 40mm length is the standard mortise-and-tenon proportion suited to a DIY garden bench structural joint. For a 2-by-4-inch rail connecting to a 4-by-4-inch leg post, the tenon dimensions are 30mm thick, 60mm wide, and 40mm long, cut from the rail end using a tenon saw and chiseled square. The mortise in the leg post matches these dimensions at 30mm wide, 60mm high, and 42mm deep, cut with a plunge router or mortise chisel. I cut all mortises with a plunge router using a 12mm spiral upcut bit in multiple passes at 5mm depth per pass, producing a cleaner mortise with more consistent wall dimensions than any hand-tool method at the same operator skill level.
Tools Required for an Advanced DIY Mortise-and-Tenon Garden Bench
A plunge router with a straight bit, a tenon saw, a 25mm bench chisel, a mallet, a marking gauge, and a combination square are six tools required for a mortise-and-tenon DIY garden bench. The plunge router cuts the mortises cleanly and consistently across all leg posts. The tenon saw cuts the cheeks and shoulders of each tenon accurately from the marked timber face. The 25mm chisel cleans the mortise walls and removes the waste material between router passes. The mallet drives the chisel during mortise cleaning and applies assembly force when fitting the tenon into the mortise. The marking gauge scores the tenon cheek lines on the rail end grain before sawing. The combination square checks squareness throughout.
Related
best garden bench landscaping ideas to pair with a DIY bench
how to build a DIY bench for a garden path with borders
top outdoor garden benches to compare before building your own
Frequently Asked Questions
What is the easiest DIY garden bench to build?
A two-board pallet DIY garden bench is the easiest garden bench to build, requiring only two pallets, four screws, and a drill to produce a functional outdoor seat in under 30 minutes with zero cutting required. For a slightly more refined result, a concrete block and scaffold board bench using three blocks per column and one scaffold board seat produces a stable, attractive outdoor bench in 20 to 30 minutes with no tools beyond a spirit level. The two-hour beginner bench using a single 2-by-10-inch seat board on four 2-by-4-inch legs represents the simplest traditional woodworking DIY garden bench construction at $18 to $28 in materials and 45 to 90 minutes of assembly time.
What timber is best for a DIY garden bench?
Pressure-treated softwood is the best timber for a first DIY garden bench because it is the most affordable outdoor-rated timber available, is sold at standard dimensional sections at every home improvement store, and provides 15 to 20-year outdoor durability without any additional surface treatment requirement beyond an optional aesthetic finish. Cedar provides the best natural timber for a DIY outdoor bench where chemical treatment is not wanted, with 15 to 20-year natural durability at a material cost approximately 50 to 80% higher than equivalent pressure-treated sections. Reclaimed scaffold boards provide the best budget timber for a DIY garden bench at near-zero material cost with adequate outdoor performance for 8 to 12 years with annual oil treatment.
How long does it take to build a DIY garden bench?
A basic DIY garden bench takes 2 to 4 hours to build from start to finish including material cutting, assembly, and basic surface finishing for a homeowner with standard DIY skills and a drill and saw. A pallet or concrete block DIY bench takes 20 to 45 minutes with no cutting required. A simple wooden bench from dimensional lumber takes 2 to 3 hours including cuts, assembly, and sanding. A DIY bench with back, armrests, and storage base takes 4 to 6 hours. An advanced mortise-and-tenon jointed hardwood DIY garden bench takes 8 to 14 hours of careful work. Concrete footings or brick column legs add 24 to 48 hours of curing time before the seat can be fitted and loaded.
How do I make an outdoor DIY bench waterproof?
A DIY outdoor bench is made waterproof by applying two coats of exterior deck oil, exterior polyurethane varnish, or exterior satin wood paint to all timber surfaces including the underside of seat boards and the end grain of all cut sections. End grain absorbs moisture at 10 to 15 times the rate of face grain, making end grain sealing the most critical waterproofing task on any DIY outdoor bench build. I apply one additional coat of exterior finish to all end grain sections 30 minutes after the full first coat has been absorbed, which provides the end grain with two effective coats of protection despite a single overall application. Annual reapplication of the finish maintains the waterproofing throughout the outdoor service life.
What is the cheapest DIY garden bench I can make?
A free DIY garden bench is made from two stacked three-block concrete block columns at zero material cost when blocks are available from a building clearance, with a free scaffold board or reclaimed plank as the seat surface. If some material purchase is required, a pallet and scaffold board bench costs $6 to $12 in screws with zero timber material cost when pallets and boards are sourced free. The cheapest purchased-material DIY garden bench uses three standard hollow concrete blocks per leg column at $0.80 to $1.20 per block and one scaffold board at $3 to $5, producing a complete bench for under $12 in total material cost including all screws and fixings.