
Backyard Garden Backgrounds That Look Like Pinterest Photos

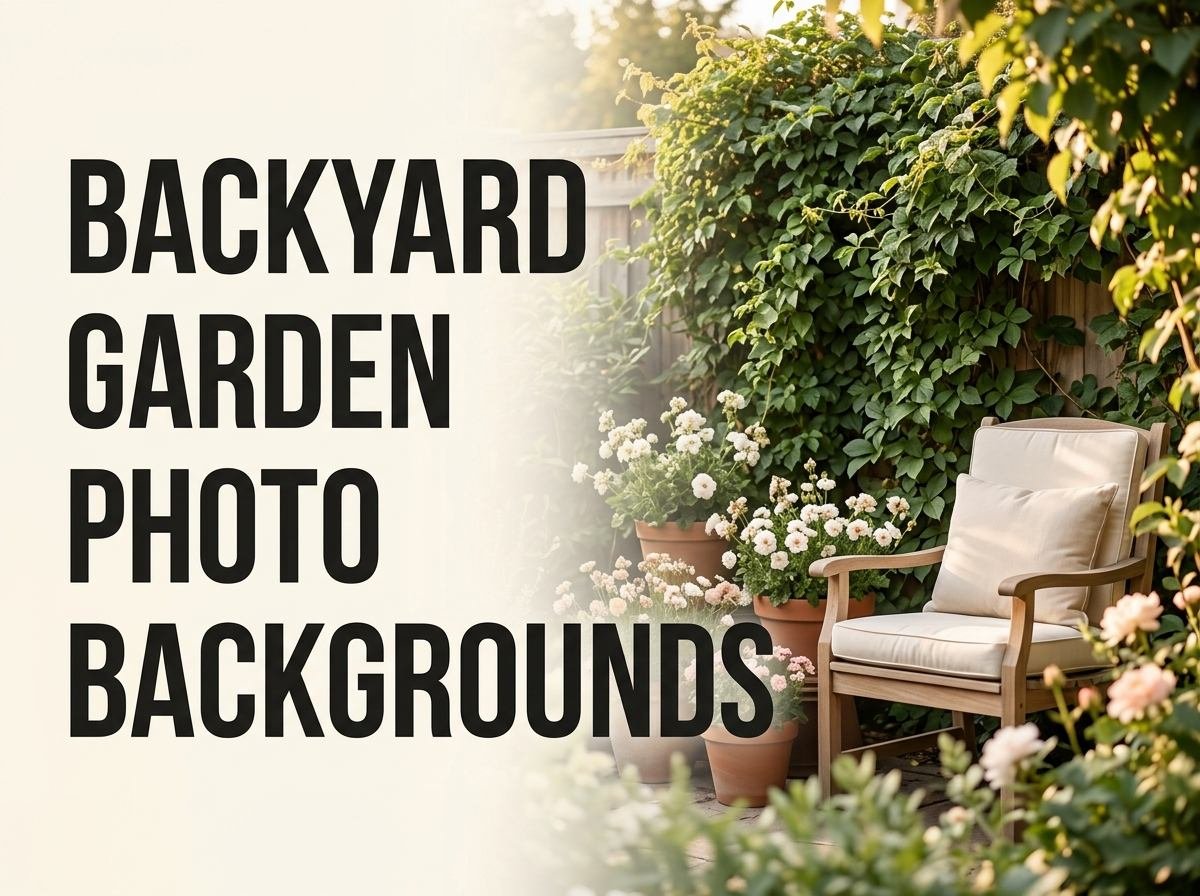
Pinterest-worthy backyard photos come down to three controllable factors: what’s in the frame, what light hits it, and what’s deliberately kept out of view, not the overall size or cost of the garden. Professional and viral amateur garden photos almost always use a single dominant backdrop layer (a hedge, a wall of climbing vines, or tall grasses), shoot during the golden hour window within 60-90 minutes of sunrise or sunset, and ruthlessly crop out hoses, bins, and fences through camera angle rather than actual landscaping. You can replicate this in a weekend with strategic staging even if the rest of the yard is unfinished.
Choose One Dominant Backdrop, Not a Mixed Border
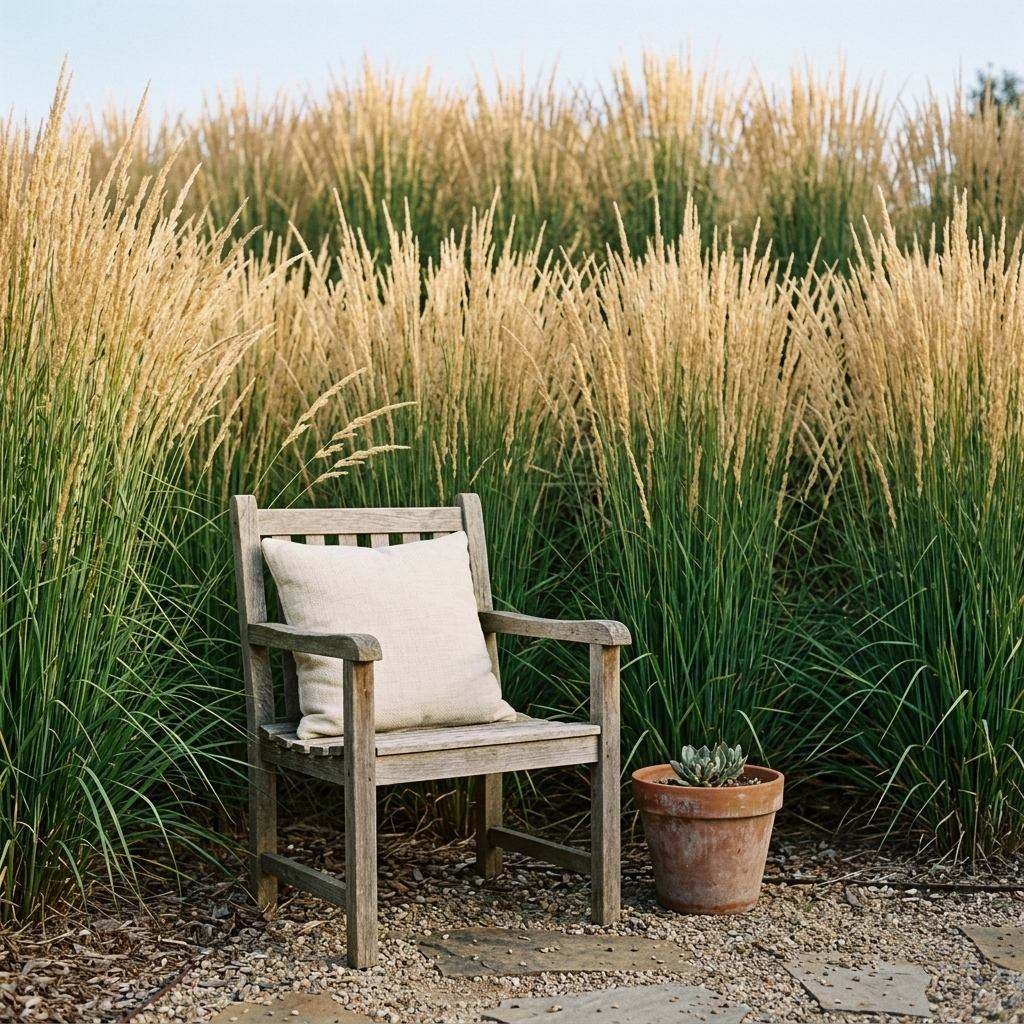
The single biggest difference between an amateur snapshot and a Pinterest-style photo is that the professional shot has one clear backdrop element filling most of the frame behind the subject, rather than a chaotic mix of five different plants competing for attention. Ornamental grasses like Karl Foerster feather reed grass or Mexican feather grass create a soft, moving, monochromatic wall of texture that photographs beautifully because it reads as one cohesive shape rather than visual noise. Climbing vines on a trellis, arbor, or simple cattle panel (clematis, climbing roses, or even fast-growing annual vines like black-eyed Susan vine) create vertical green walls that work as a backdrop for anything placed in front of them, from a picnic table to a reading chair. Dense evergreen shrubs like boxwood or arborvitae in a row provide a year-round backdrop option that doesn’t depend on bloom timing, which matters if you’re planning a photo session for a specific date regardless of season. The practical move is to identify or plant one backdrop zone about 6-10 feet wide in your yard and treat everything else in the frame as secondary.
Key takeaway: Photograph in front of one dense, textured plant mass rather than trying to capture your whole varied garden at once.
Shoot During Golden Hour, Never Midday
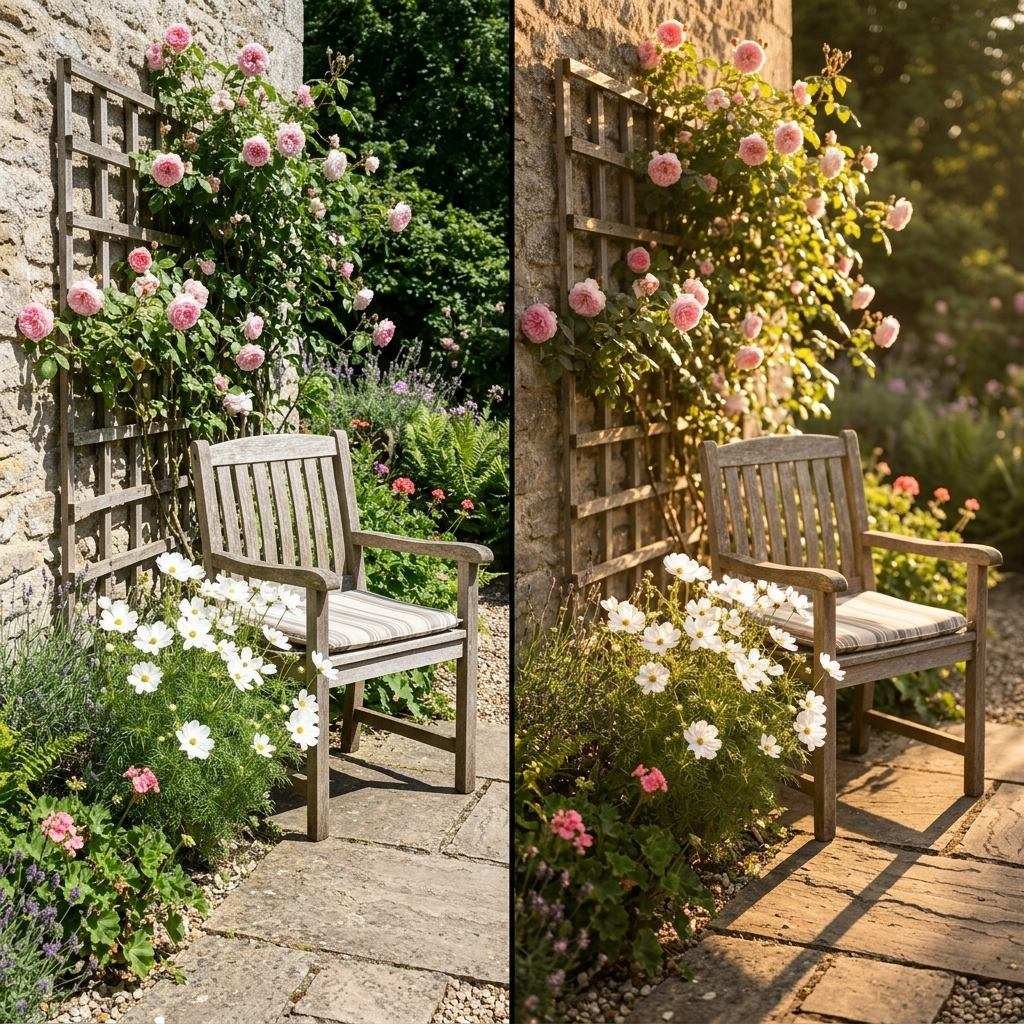
Photos taken between 11am and 3pm suffer from harsh, flat overhead light that creates unflattering shadows under leaves and washes out color saturation in a way that no editing app fully fixes afterward. The hour after sunrise and the hour before sunset (golden hour) produces horizontal, warm-toned light that rakes across textures, backlights petals into a soft glow, and adds long, gentle shadows that create depth. In practice, check a sunset time app the day before, arrive in the yard about 45 minutes before actual sunset, and plan to shoot continuously through the last 20 minutes of usable light, since the quality of light changes noticeably every five minutes during this window. Overcast days are the second-best option and are actually superior to golden hour for close-up flower photography, since diffused cloud cover eliminates harsh shadows and renders color more evenly across the whole frame.
Key takeaway: The exact same backyard corner looks amateur at noon and professional 45 minutes before sunset, using identical plants.
Backlighting for the Glowing-Edge Effect
Position yourself so the sun is behind your subject rather than behind you, which creates a rim of light around leaf edges and flower petals (especially effective with translucent petals like poppies or cosmos) and produces the soft, dreamy glow common in viral garden photos. This requires slightly overexposing the shot or using your phone’s HDR mode to prevent the background from blowing out completely white.
Shoot From a Low Angle to Hide Clutter and Add Height
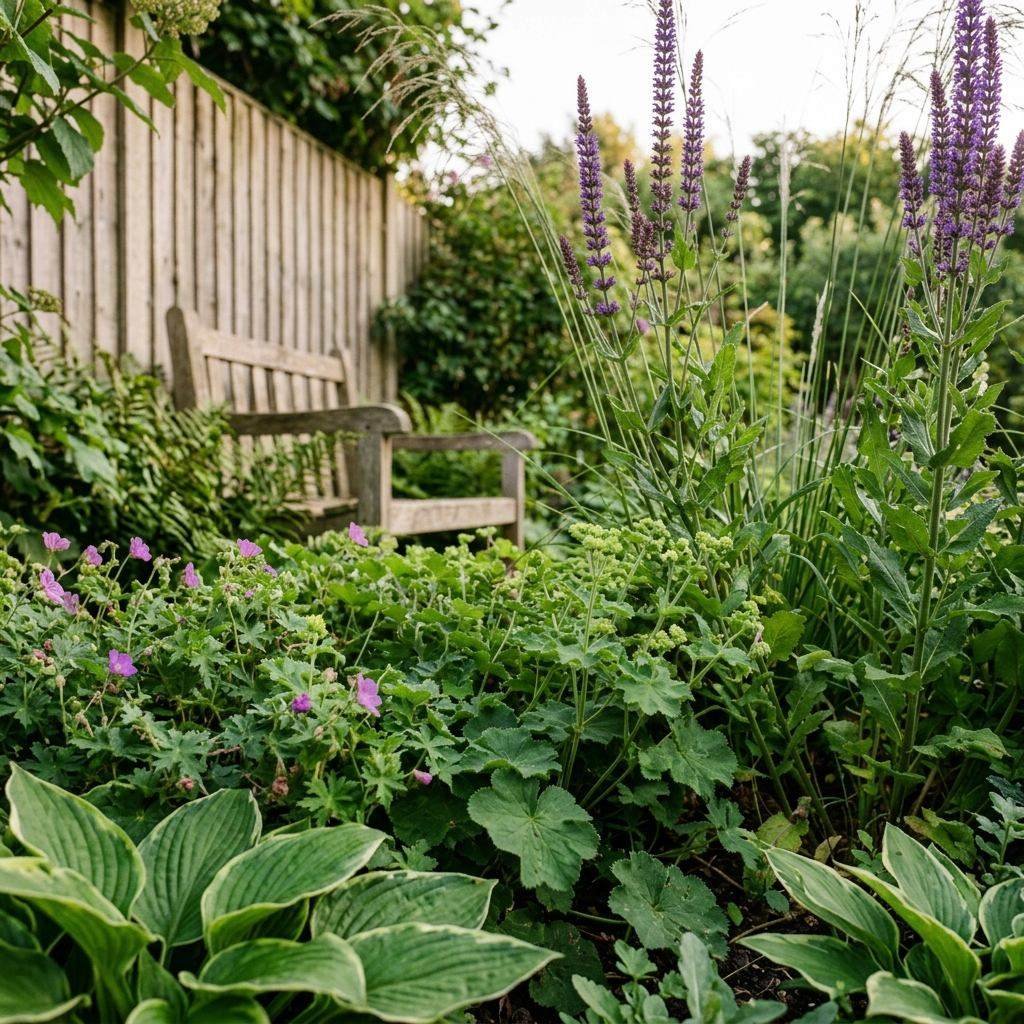
Most people photograph their yard standing at full height, pointing the camera slightly downward, which captures dirt patches, garden hoses, and bare soil at the base of plants while making everything look shorter and more cramped than it is. Crouching down to knee height or even sitting on the ground and angling the camera slightly upward accomplishes two things simultaneously: it uses foreground plants to naturally block distracting background elements like a shed or trash cans, and it makes the plants in frame appear taller and more abundant since you’re now shooting up into their canopy rather than down onto the soil. A five-dollar foldable stool kept near your favorite garden corner makes this a repeatable habit rather than something you only think of once.
Key takeaway: Get low. A camera at knee height instantly hides ground-level clutter and makes modest plantings look lush.
Declutter the Frame Before You Declutter the Yard
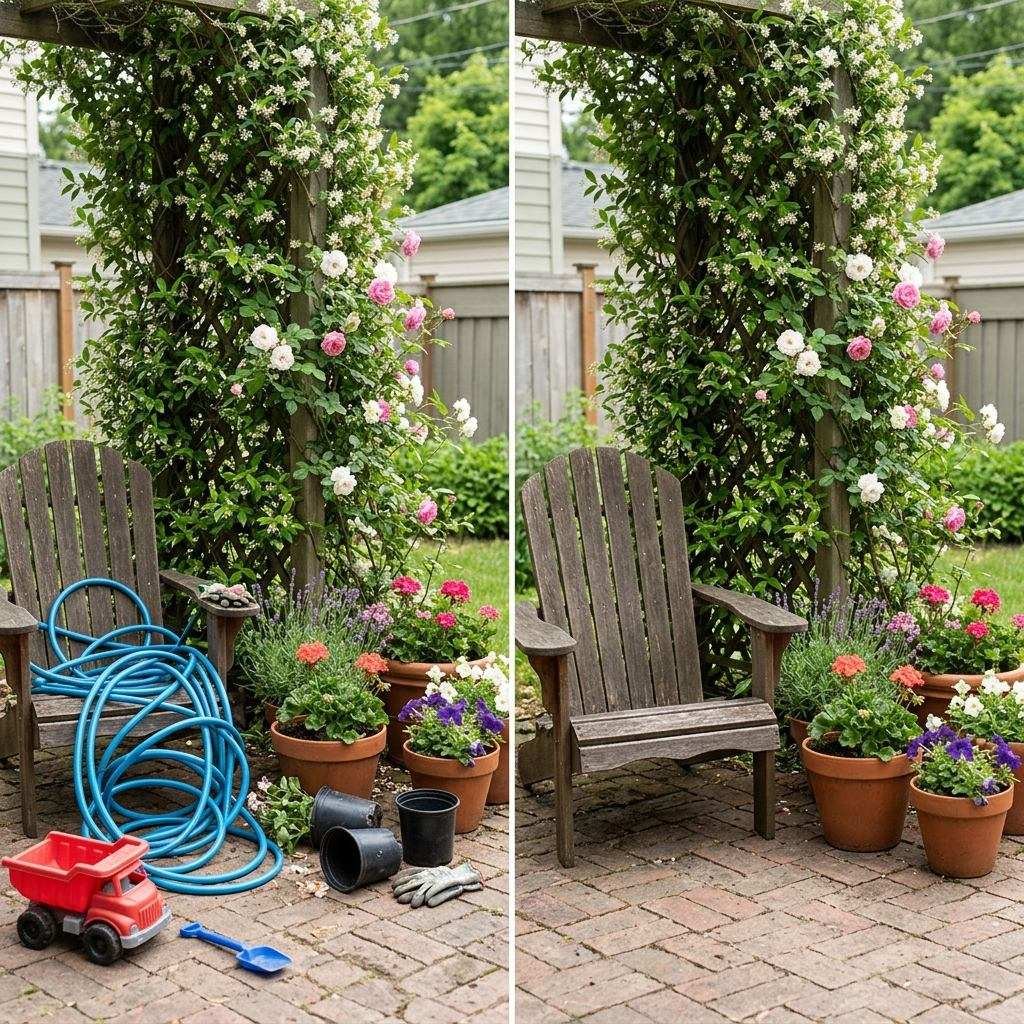
You don’t need to landscape your whole backyard to get one great photo, you need to control what’s inside roughly a 60-degree cone in front of the camera. Before shooting, do a fast walk-through and remove or reposition anything with strong artificial color or shape: garden hoses, plastic pots, kids’ toys, trash bins, and tools are the most common offenders because their solid colors and geometric shapes pull the eye away from organic plant forms. A plain neutral tarp or an extra piece of furniture can temporarily block an unavoidable eyesore like an AC unit or neighbor’s fence if repositioning the camera doesn’t fully solve it. This 10-minute pre-shoot routine matters more than almost any planting decision, since even a stunning flower bed photographs poorly with a blue plastic kiddie pool visible in the corner.
Key takeaway: A 10-minute declutter walk-through before shooting does more for photo quality than an entire season of landscaping.
Add Foreground Framing Elements
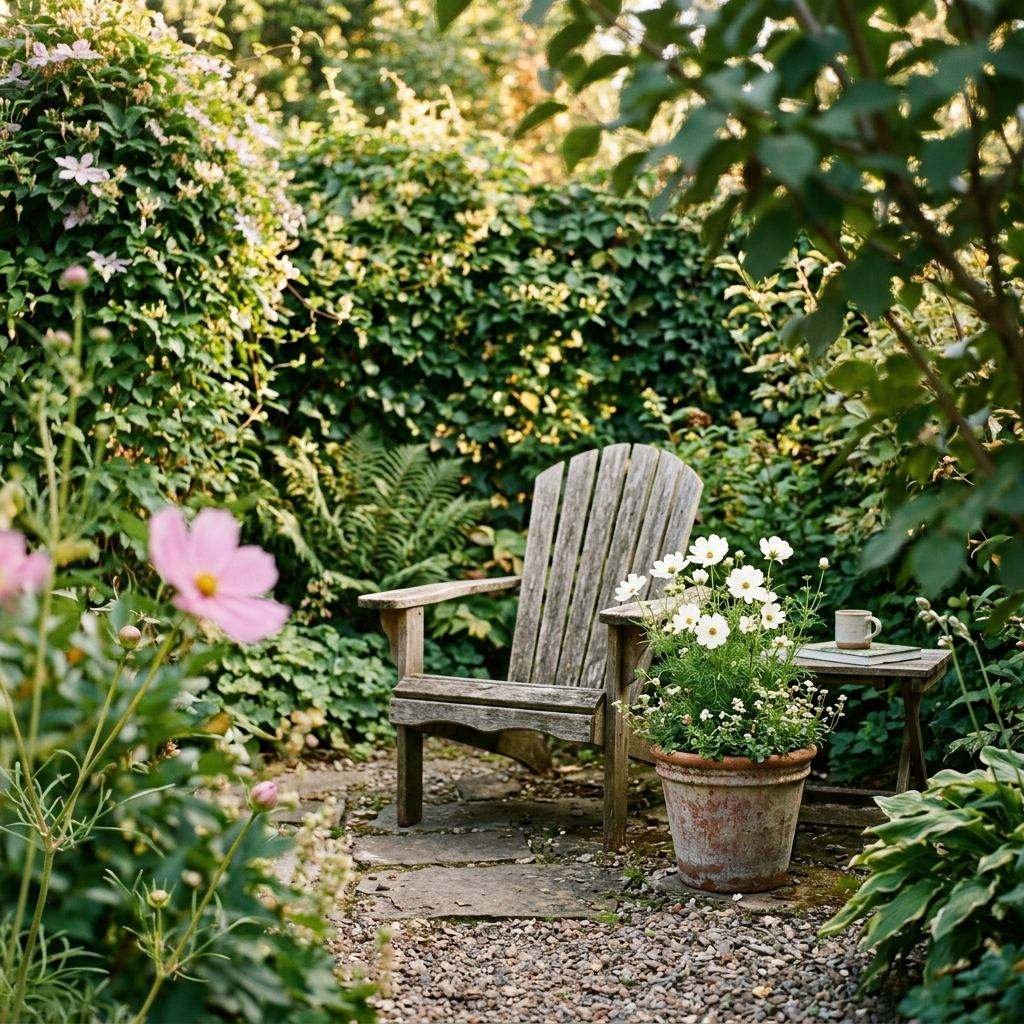
Placing something soft and blurred in the extreme foreground, slightly out of focus, adds depth and a professional layered look that flat, single-plane photos lack. Overhanging a single flower stem, a spray of grass, or a tree branch into the bottom corner of the frame, close to the lens, creates this effect on most phone cameras automatically when using portrait mode or a wide aperture setting. This technique is how many professional garden photographers create the illusion of shooting “into” a lush garden even when the actual planting is modest, because the viewer’s eye reads foreground blur as an indicator of depth and abundance.
Use Consistent Color Stories, Not Rainbow Mixes
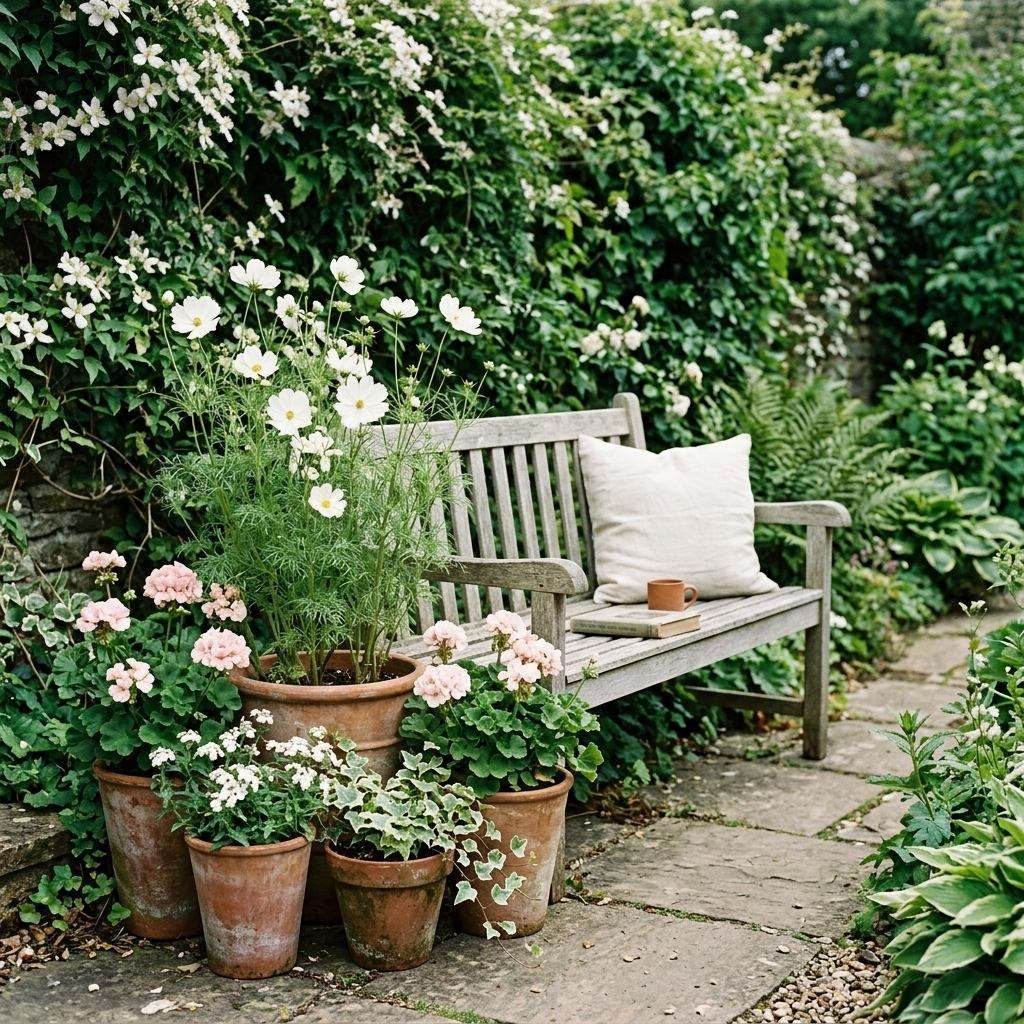
Viral garden photos overwhelmingly favor a limited, cohesive color palette, most often variations of white, blush pink, and green, or a monochromatic purple-and-lavender scheme, rather than a rainbow mix of every color available. This isn’t about restricting what you grow overall, it’s about choosing which section of the yard to feature and photograph, since a chaotic mix of orange marigolds, purple salvia, and red geraniums photographs as visual clutter even when it looks fine to the naked eye standing in the space. Stage portable potted plants in a coordinated palette near your chosen backdrop specifically for photo days if your permanent beds are more eclectic.
Comparing Backdrop Options by Season and Effort
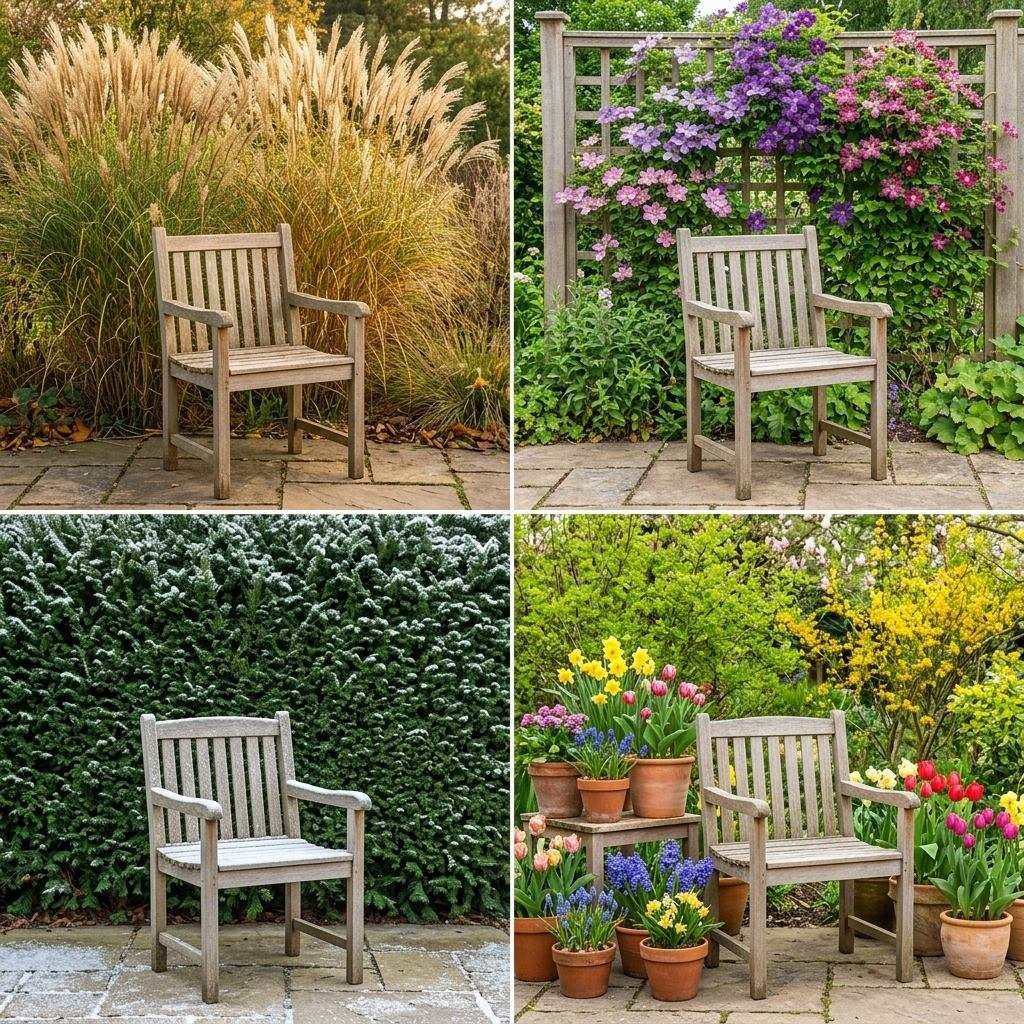
| Backdrop Type | Best Season | Setup Effort | Reusability |
|---|---|---|---|
| Ornamental grasses | Late summer through fall | Low (plant once) | Multi-year, seasonal texture change |
| Climbing vine on trellis | Late spring through summer | Medium (needs structure) | Multi-year, grows lusher over time |
| Evergreen shrub row | Year-round | Medium (slow to establish) | Permanent, consistent |
| Potted flower staging | Any season, portable | High (per session) | Reusable, movable to best light |
The Bottom Line
A Pinterest-worthy backyard photo is a staging and lighting exercise as much as a gardening one. Pick a single dense backdrop, shoot in the last hour of daylight, get low with the camera, and spend ten minutes clearing obvious clutter from the frame before you take a single shot. None of this requires an expensive camera or a finished landscape, it requires treating your best garden corner as a deliberate photo set rather than hoping the whole yard photographs well by accident.
Frequently Asked Questions
Do I need a professional camera to get Pinterest-style garden photos?
No, most modern smartphones handle this well, especially in portrait mode for background blur. Lighting, composition, and camera angle matter far more than sensor quality for garden photography at this level.
What time should I plan a garden photo session?
Aim for the 45-60 minutes before sunset (or after sunrise), checking a sunset calculator app the day before. Overcast days work well too, especially for close-up flower shots where even, diffused light avoids harsh shadows.
How do I hide an ugly fence or shed in backyard photos?
Position a tall backdrop plant, trellis, or vine between the camera and the eyesore, or simply reframe the shot so it falls outside the camera’s field of view. Shooting from a lower angle also naturally raises the horizon line and can push distracting elements out of frame.
What plants photograph best for a lush, layered garden background?
Ornamental grasses, climbing vines on a trellis or arbor, and dense flowering shrubs like hydrangea create the most photogenic, cohesive backdrops. Their large, uniform mass reads better in photos than a mix of small, varied plants.
Should I edit or filter my garden photos afterward?
Light editing (adjusting warmth, contrast, and slight saturation) can enhance a well-composed photo, but heavy filters often look unnatural on plant photography. Getting the lighting and composition right in-camera reduces how much editing you need.
How can I make a small backyard look bigger and more lush in photos?
Shoot low and close to a single dense plant mass so it fills most of the frame, use foreground blur to add depth, and avoid wide shots that reveal the yard’s actual boundaries and fence lines. Tight, layered compositions consistently read as more abundant than wide establishing shots of a small space.