
How to Build a Mini Labyrinth in Your Small Yard

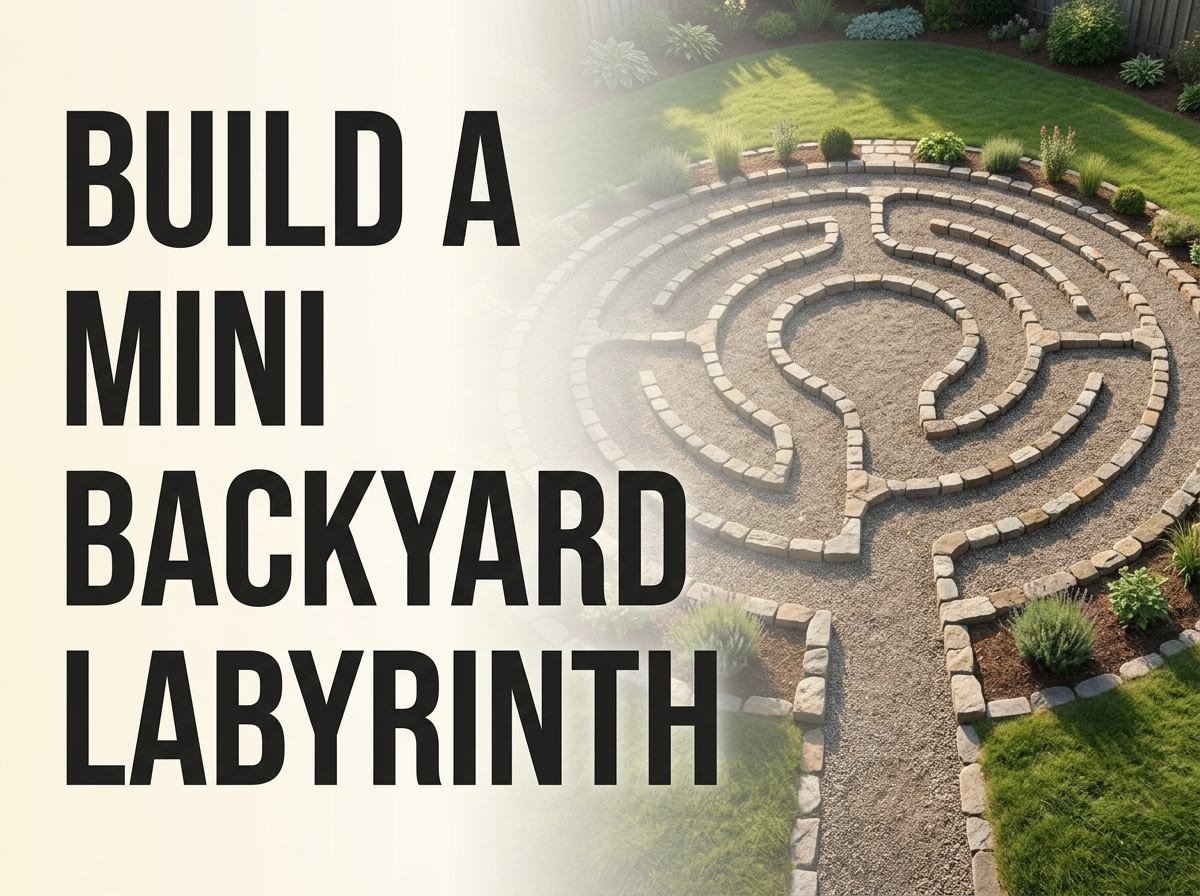
A mini labyrinth fits into surprisingly little space; a classical 3-circuit pattern needs as little as 12×12 feet, while a 5-circuit version genuinely needs closer to 20×20 feet for comfortable path widths. Unlike a maze, a labyrinth has a single, non-branching path to the center, which means the design challenge is entirely about circuit count, path width, and material choice rather than puzzle-solving layout. The build itself is straightforward once the pattern is chosen: mark the design, lay path materials, and define the walls with low, permanent edging.
Understanding Labyrinth vs. Maze

A labyrinth is unicursal, meaning there’s exactly one path that winds to the center and back out, with no dead ends, no branching decisions, and no possibility of getting lost, which is precisely what makes it suited for meditative walking rather than puzzle-solving. A maze, by contrast, is designed with multiple paths, dead ends, and decision points specifically to challenge and disorient. This distinction matters for a small yard because a labyrinth’s single continuous path can be scaled down to a genuinely compact footprint without losing its function, while a maze needs considerably more space to create meaningful complexity. The classical 7-circuit labyrinth pattern, the oldest known design, traditionally needs 40+ feet across, which is why smaller yards should look at simplified 3-circuit or 5-circuit versions instead.
Key takeaway: Choosing a simplified circuit count, not shrinking a traditional design proportionally, is what makes a labyrinth actually fit a small yard.
Choosing the Right Circuit Count for Your Space

A 3-circuit classical labyrinth, the simplest traditional pattern, requires only about 12×12 to 15×15 feet and takes roughly 3 to 5 minutes to walk at a contemplative pace, making it the most realistic choice for most residential backyards. A 5-circuit design needs 20×20 to 24×24 feet and offers a noticeably longer, more meditative walk of 8 to 10 minutes, appropriate if your yard has the room and you want a more substantial walking experience. Both patterns are based on a classical seed pattern (a cross with four angle marks and four dots) that determines how the path winds, and this seed pattern is what you’ll actually draw first before extending it into the full spiral. Going smaller than a 3-circuit design compromises the meditative walking experience significantly, since the turns become too tight to walk at a natural, unhurried pace.
Key takeaway: Measure your available space first, then pick the largest circuit count that comfortably fits, rather than trying to cram a 5-circuit pattern into 3-circuit space.
Laying Out the Classical Seed Pattern

Start by marking a center point and drawing a small cross using stakes and string, with the vertical line slightly longer than the horizontal to leave room for the entrance path at the bottom. Add four dots, one in each quadrant created by the cross, positioned at equal distance from the center, then add four angle marks (like open brackets) between the arms of the cross, also equidistant from center. Connect these points with a continuous, winding line following the traditional classical pattern (widely documented and easy to follow from a template or diagram), which produces the spiraling path structure once completed. Working from the center outward with spray chalk or marking paint lets you adjust and correct the pattern before committing to permanent materials, which is far easier than trying to fix a labyrinth after gravel or pavers are already placed.
Key takeaway: Mark the entire pattern with temporary chalk or paint first and walk it yourself before installing any permanent materials, since correcting a marked line costs nothing while correcting installed pavers costs real time and money.
Selecting Path and Wall Materials

For the walking path itself, mown grass paths cut through taller surrounding grass or groundcover offer the lowest cost option, essentially free if you already maintain a lawn, though they require ongoing mowing maintenance to stay defined. Pea gravel or decomposed granite paths, contained by simple edging, provide a more defined, all-weather walking surface and cost roughly $3 to $6 per square foot installed. For wall definition (the lines separating each circuit’s path), low plantings like dwarf boxwood, creeping thyme, or low ornamental grasses create a living border, while brick, stone, or timber edging offers a more immediate, structured look without waiting for plants to fill in. Combining a gravel path with a mown grass or groundcover buffer between circuits is a popular middle-ground approach that balances cost, maintenance, and visual definition.
Key takeaway: Living plant borders look better over time but take one to two seasons to fill in fully, so pair them with a clearly marked path from day one if you want the labyrinth walkable immediately.
Sizing Path Width for Comfortable Walking

Path width should be a minimum of 18 inches, though 24 inches is noticeably more comfortable, particularly for anyone walking with a cane, in a wheelchair, or simply wanting to walk side by side with another person occasionally. Because a labyrinth’s path width has to stay consistent throughout the entire spiral for the geometry to work, decide on this measurement before finalizing your overall footprint size, since a wider path directly increases the total space the labyrinth requires. A 3-circuit labyrinth with 24-inch paths and 6-inch wall borders lands close to the 15×15 foot range, while tightening to 18-inch paths can bring that same 3-circuit design down closer to 12×12 feet.
Key takeaway: Path width and total footprint are directly linked, so decide on a comfortable width first and let that determine your final labyrinth size, not the other way around.
Comparing Material Options for a Mini Labyrinth

| Material | Approx. Cost (per sq ft) | Maintenance | Look |
|---|---|---|---|
| Mown grass path | $0 (if lawn exists) | Regular mowing/edging | Natural, informal |
| Pea gravel | $3-6 installed | Occasional raking/topping up | Defined, all-weather |
| Brick or paver | $8-15 installed | Very low | Permanent, formal |
| Decomposed granite | $4-7 installed | Low, needs edging | Natural, firm surface |
| Living plant borders | $2-5 per linear ft | Trimming, watering | Soft, evolves over time |
Adding a Center Feature

The center of a labyrinth is traditionally a small gathering or pausing point, and in a mini backyard version this can be as simple as a flat stepping stone large enough to stand on, a small bench if space allows, or a modest sculptural element like a sundial or birdbath. Keep the center feature proportional to the overall labyrinth size; a 3-circuit design in a 12×12 foot space suits a single paver or small stone marker far better than a large statue or bench, which would visually overwhelm the compact scale. Some gardeners plant a single specimen shrub or small tree just outside the labyrinth’s edge near the center to provide a visual focal point without occupying the walkable center space itself.
Key takeaway: Keep center features modest and proportional in a mini labyrinth, since oversized elements crowd the small scale that makes these designs work in tight yards.
The Bottom Line
A mini labyrinth genuinely fits into a small backyard once you accept that a simplified 3-circuit or 5-circuit classical pattern, not a scaled-down version of a grand 7-circuit design, is the right approach for limited space. The build process itself is accessible to most DIY gardeners: mark the seed pattern with temporary chalk, walk it to confirm the flow feels right, then commit to permanent path and wall materials suited to your budget and maintenance preference. Done well, even a 12×12 foot labyrinth becomes a genuine daily walking ritual rather than just a garden novelty.
Frequently Asked Questions
What is the smallest size a labyrinth can be and still work? A 3-circuit classical labyrinth is generally the smallest practical size, fitting into roughly 12×12 to 15×15 feet with comfortable 18 to 24-inch path widths. Going smaller compromises the walking experience by making turns too tight to walk naturally.
Is a labyrinth the same thing as a maze? No, a labyrinth has a single continuous path with no dead ends or decision points, designed for meditative walking, while a maze intentionally includes multiple paths and dead ends meant to confuse or challenge. This is why labyrinths can be scaled down more successfully than mazes for small spaces.
What materials are cheapest for building a backyard labyrinth? Mown grass paths cut through slightly taller surrounding lawn cost essentially nothing beyond regular mowing, making this the most budget-friendly option. Pea gravel paths with simple edging are the next most affordable, typically $3 to $6 per square foot installed.
How long does it take to walk a mini labyrinth? A 3-circuit labyrinth typically takes 3 to 5 minutes to walk at a slow, contemplative pace, while a larger 5-circuit design takes closer to 8 to 10 minutes. Walking speed and pausing at the center for reflection both affect total time.
Can I build a labyrinth on a sloped yard? A gentle slope can work, but labyrinths are traditionally built on flat or nearly flat ground since the walking experience depends on an even, predictable surface underfoot. Significant slopes usually require terracing or grading a level area first.
Do I need permission or a permit to build a garden labyrinth? Most residential labyrinths, being at ground level with no structural elements, don’t require permits, though it’s worth checking local regulations if you’re adding permanent hardscape materials like brick or extensive gravel. HOA-governed properties may have separate landscaping approval requirements worth checking first.