Vermicomposting for Beginners: Turn Kitchen Scraps into Garden Gold

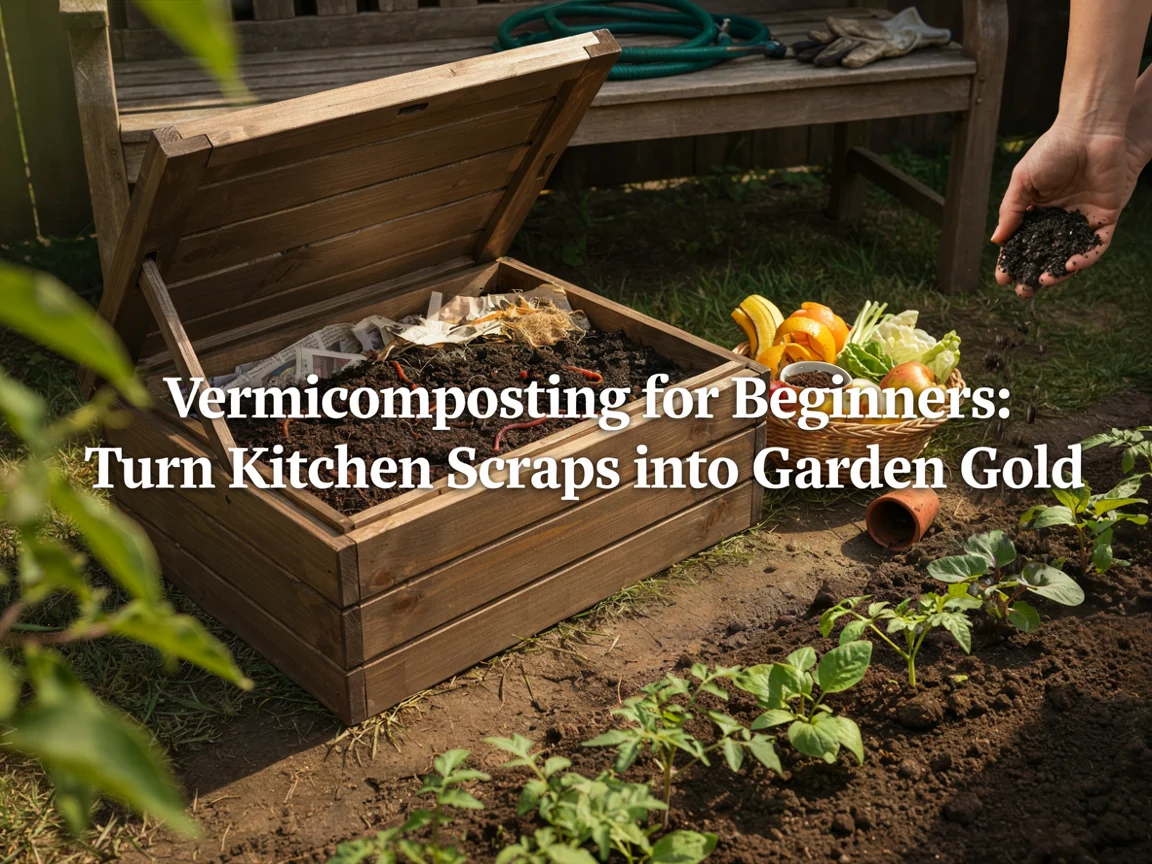
Vermicomposting uses worms to break down kitchen scraps into some of the richest, most concentrated compost a home gardener can produce, and it takes up far less space than a traditional outdoor compost pile. The steps below cover everything needed to get a beginner worm bin up and running successfully.
Choosing the Right Worm Species
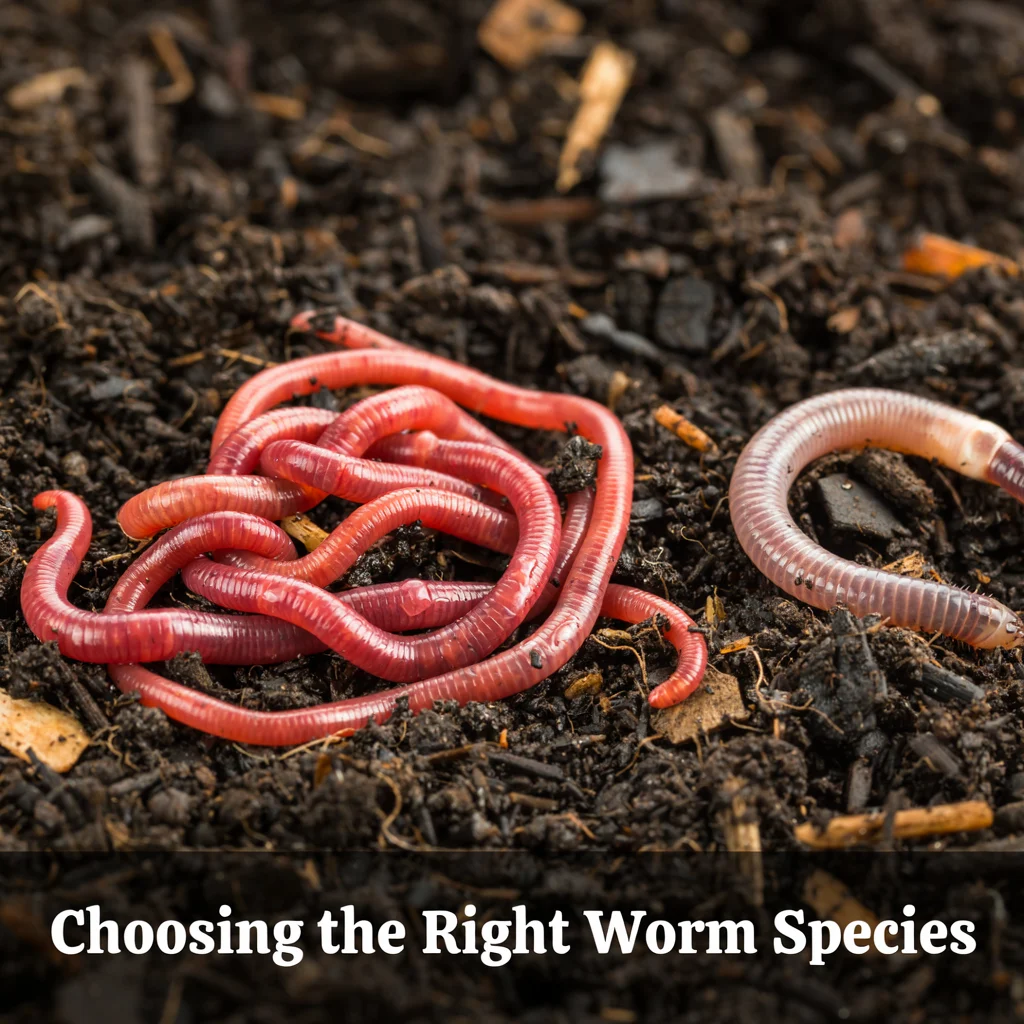
Choosing the right worm species matters more than most beginners expect, since not every worm is suited to the confined, food-rich environment of a compost bin.
Why Red Wigglers Are the Standard Vermicomposting Worm
Why red wigglers are the standard vermicomposting worm comes down to their surface-dwelling habits and rapid reproduction, both of which suit them specifically to bin composting rather than deep soil.
Why Regular Earthworms Don’t Work Well in a Bin
Why regular earthworms don’t work well in a bin comes down to their burrowing nature, since they’re built for tunneling through open ground rather than thriving in the confined space a compost bin provides.
Setting Up a Properly Ventilated Bin
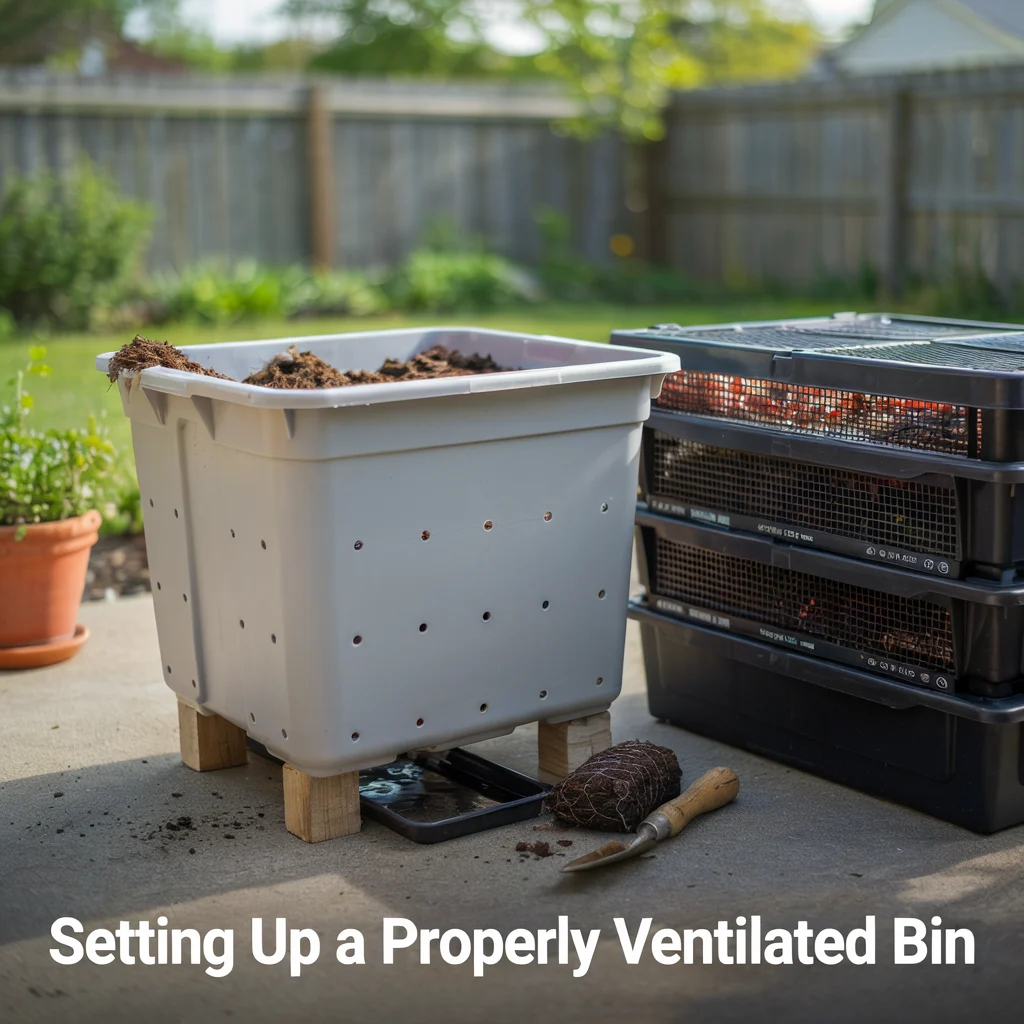
Setting up a properly ventilated bin gives worms the airflow and drainage they need to stay healthy, since a sealed, airless container quickly becomes inhospitable.
Choosing Between a DIY Bin and a Purchased System
Choosing between a DIY bin and a purchased system mostly comes down to budget and convenience, since a simple drilled plastic tote works just as well functionally as a commercial stacking system.
Why Drainage Holes Prevent a Soggy, Anaerobic Bin
Why drainage holes prevent a soggy, anaerobic bin comes down to excess moisture management, since trapped liquid without anywhere to drain leads to the smell and worm die-off that discourage most first-time attempts.
Preparing Moist Bedding for the Worms
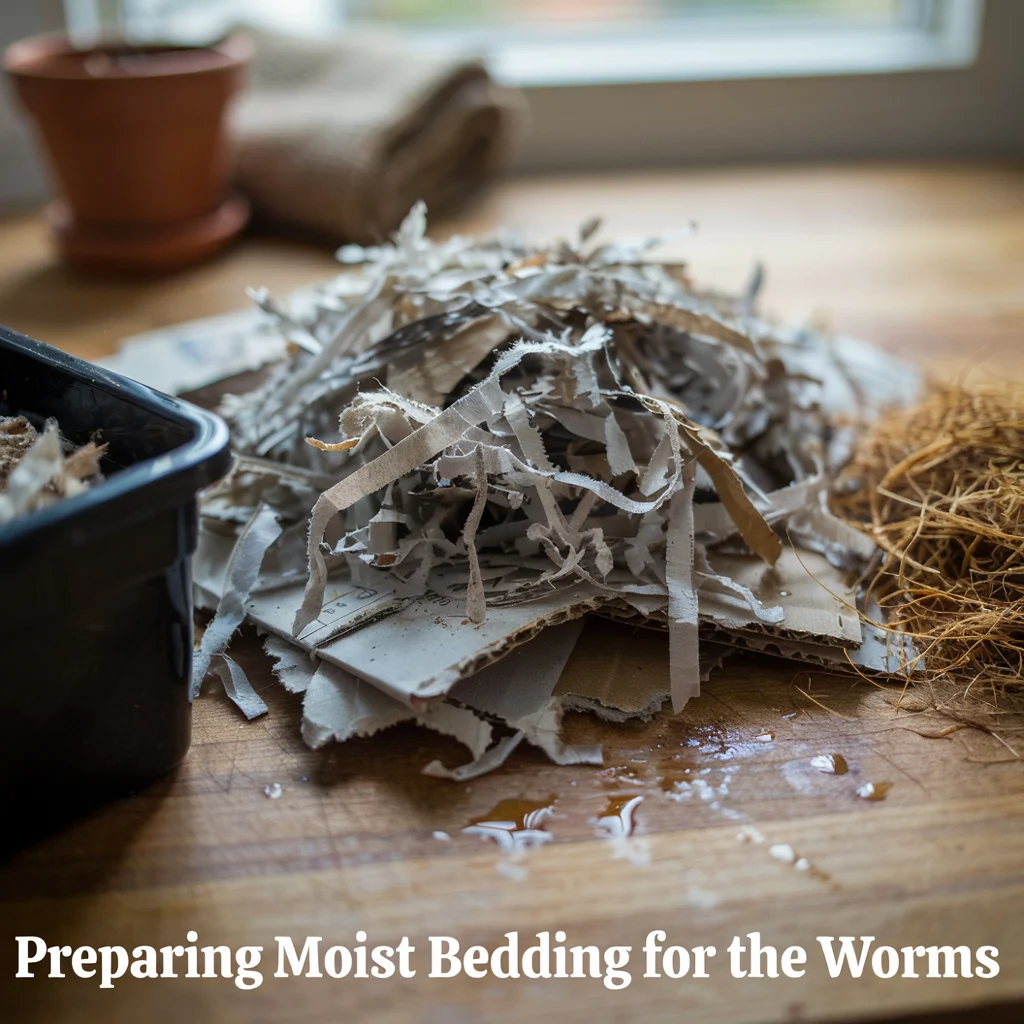
Preparing moist bedding for the worms gives them a comfortable environment to live in between feedings, and this bedding layer matters just as much as the food scraps themselves.
Best Materials for Vermicomposting Bedding
Best materials for vermicomposting bedding include shredded newspaper, cardboard, and coconut coir, all of which hold moisture well while staying loose enough for worms to move through easily.
Getting Bedding Moisture to the Right Consistency
Getting bedding moisture to the right consistency, damp like a wrung-out sponge rather than dripping wet, avoids both the drowning risk of overly wet bedding and the drying-out risk of bedding that’s too dry.
Knowing What Kitchen Scraps to Feed the Worms
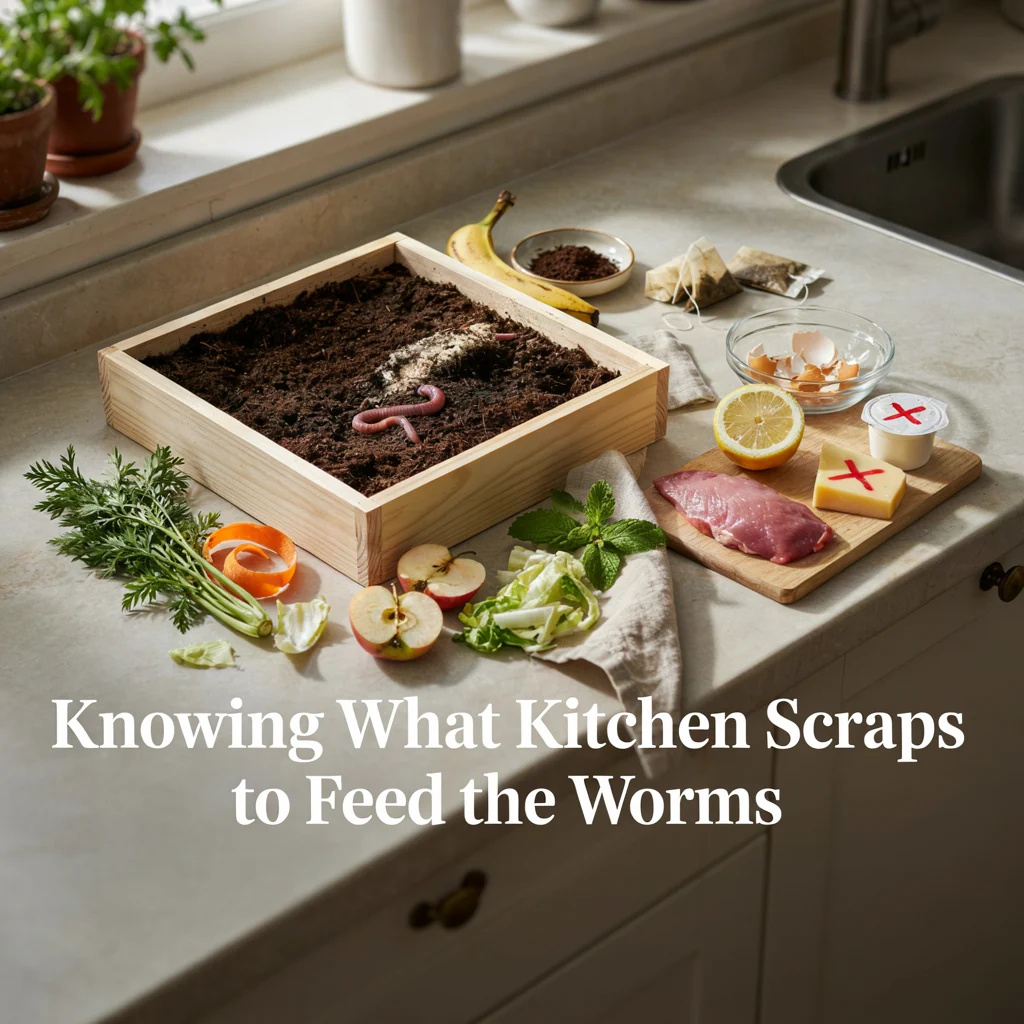
Knowing what kitchen scraps to feed the worms keeps the bin healthy and odor-free, since not every type of food waste is suitable for a worm bin.
Safe Scraps That Worms Break Down Well
Safe scraps that worms break down well include fruit and vegetable peels, coffee grounds, tea bags, and crushed eggshells, all of which decompose readily without causing problems.
Foods to Avoid Adding to a Worm Bin
Foods to avoid adding to a worm bin include meat, dairy, oily foods, and citrus in large quantities, since these tend to attract pests, cause odor, or disrupt the bin’s pH balance.
Maintaining the Right Moisture and Temperature
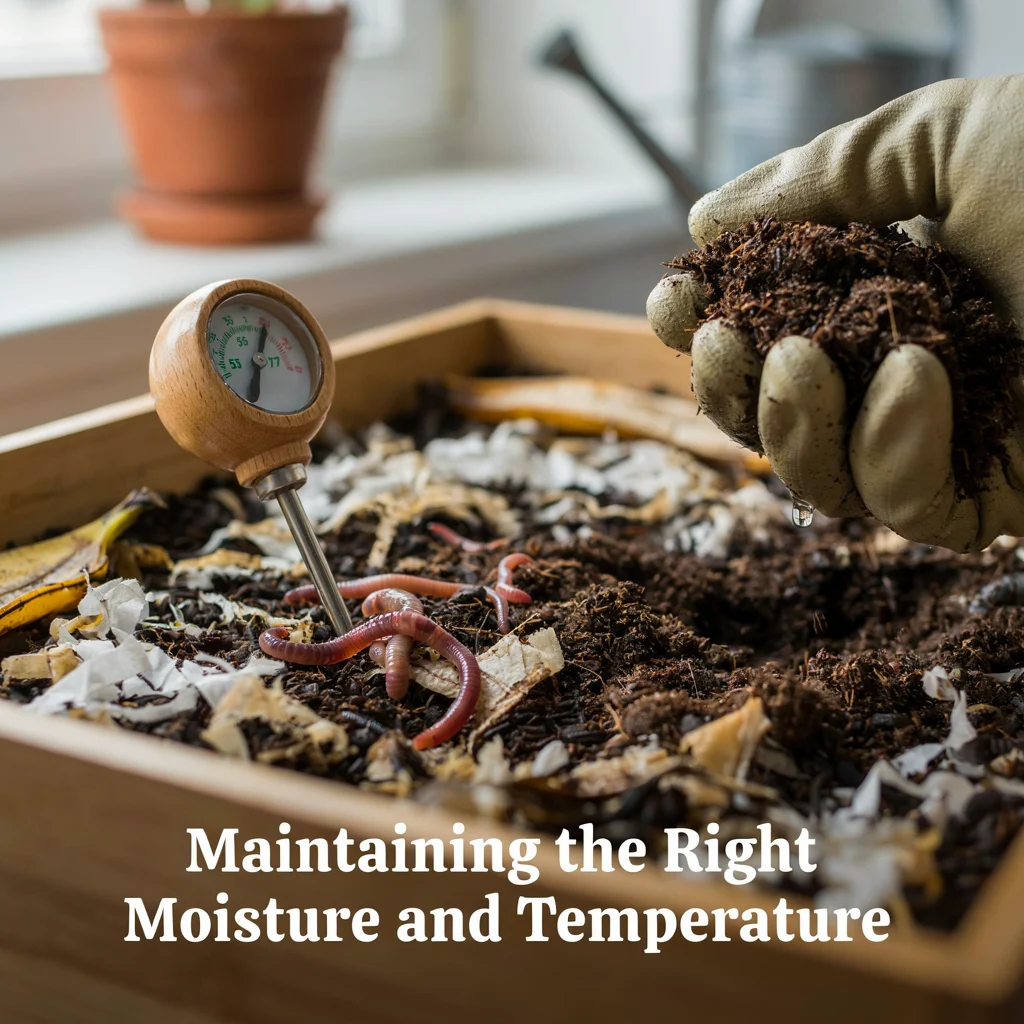
Maintaining the right moisture and temperature keeps a worm population healthy and actively composting, since worms are genuinely sensitive to conditions outside their preferred range.
Ideal Temperature Range for Active Worm Composting
Ideal temperature range for active worm composting generally falls between 55 and 77 degrees Fahrenheit, with worms slowing down considerably or becoming stressed outside that window.
Checking and Adjusting Bin Moisture Regularly
Checking and adjusting bin moisture regularly, adding dry bedding if it’s too wet or misting if it’s too dry, keeps the environment consistently comfortable for the worms.
Troubleshooting Common Beginner Problems
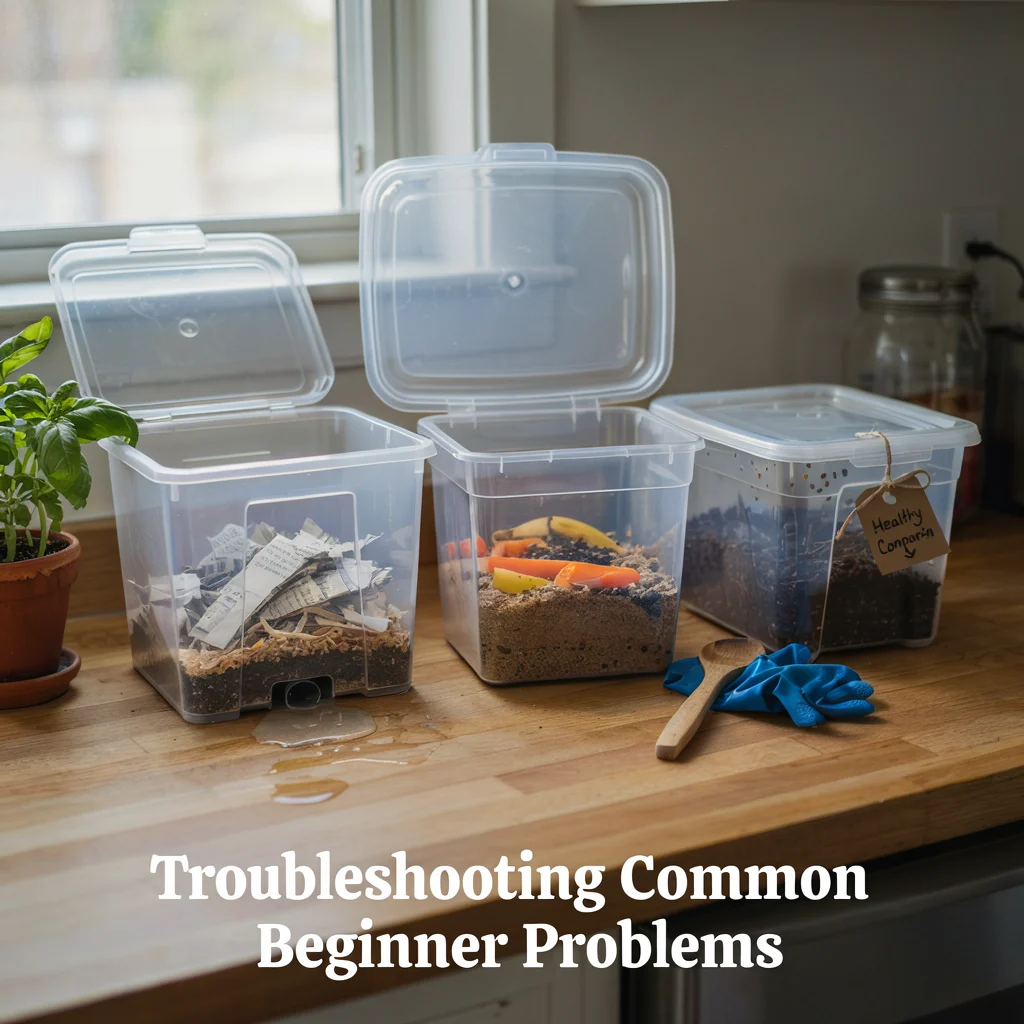
Troubleshooting common beginner problems early prevents small issues from turning into a bin that has to be started over from scratch.
Dealing With Unpleasant Odors From the Bin
Dealing with unpleasant odors from the bin usually means the bin is overfed or too wet, and cutting back on scraps while adding dry bedding typically resolves the smell within a few days.
Managing Fruit Flies and Other Unwanted Pests
Managing fruit flies and other unwanted pests generally comes down to fully burying food scraps under the bedding layer, rather than leaving them exposed on the surface.
Harvesting and Using the Finished Castings
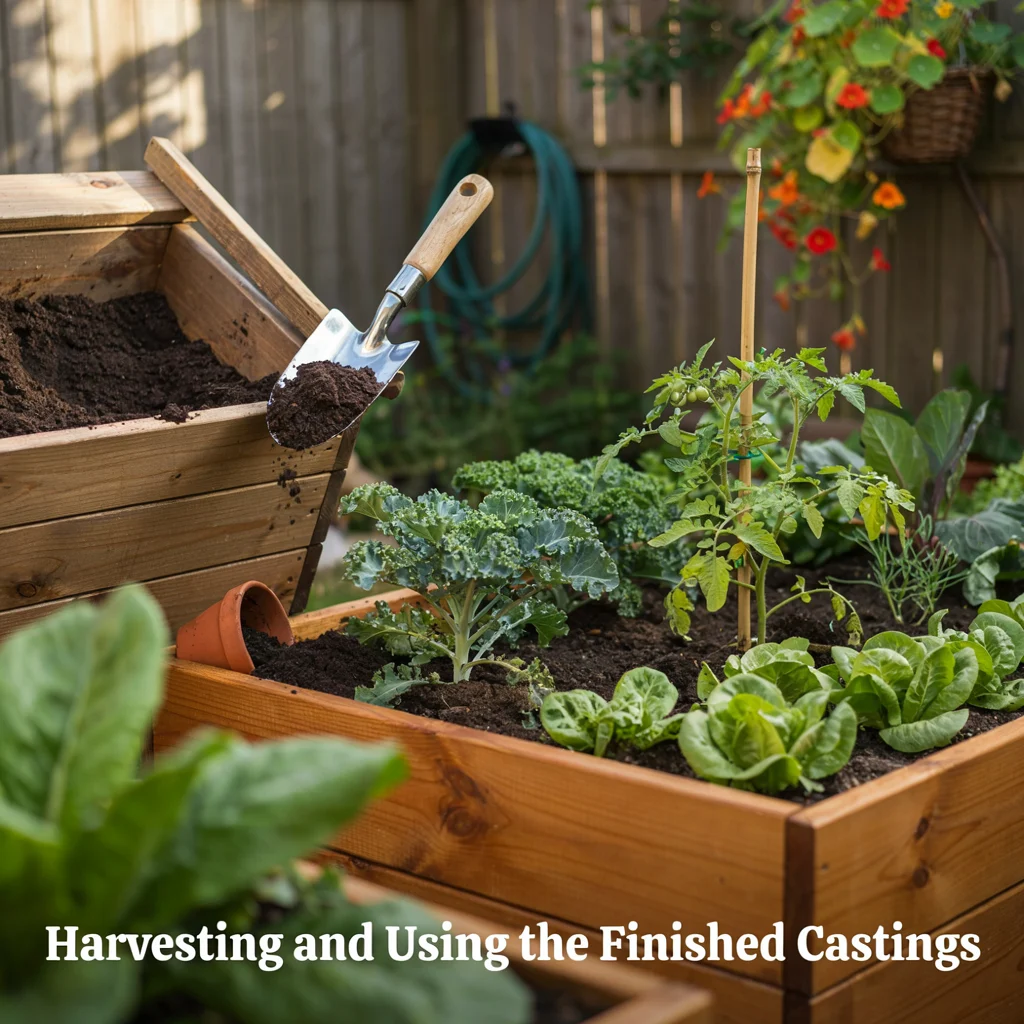
Harvesting and using the finished castings is the whole point of the process, turning kitchen scraps into a concentrated, nutrient-dense soil amendment for the garden.
Signs the Castings Are Ready to Harvest
Signs the castings are ready to harvest include a dark, crumbly texture with little remaining recognizable food or bedding material, typically ready after a few months of active composting.
Using Worm Castings in Garden Beds and Containers
Using worm castings in garden beds and containers, mixed into soil or used as a top dressing, delivers a gentle, slow-release nutrient boost that’s genuinely hard to overdo compared with synthetic fertilizer.
The Bottom Line
Vermicomposting comes down to giving red wiggler worms a properly ventilated bin, damp bedding, and a steady but not excessive diet of fruit and vegetable scraps. Within a few months, that same routine kitchen waste turns into some of the richest compost a home garden can use, all from a bin that fits easily under a sink or in a garage corner.
For related ideas, see our articles on Practical Small Space Garden Ideas for Beginners, How to Build a Pet-Friendly Garden, and Mini Garden Ideas That Fit Any Space. For more on this, our guides on Beginner-Friendly Flowers for a Cut Flower Garden, The Best Woodland Garden Plants for Shady Areas, and Best Border Flowers: Top Plants for a Colourful Garden cover related ground. For a related project, see our article on The Best Small Trees for a Small Yard or Garden.
Frequently Asked Questions
How Long Does It Take to Get Usable Compost From Vermicomposting?
Vermicomposting typically produces usable, harvestable castings within three to six months, depending on bin size, worm population, and how consistently the bin is fed.
Can Vermicomposting Be Done Indoors?
Vermicomposting can absolutely be done indoors, and a properly maintained bin with the right moisture balance shouldn’t produce any noticeable odor in a kitchen or utility space.
How Many Worms Do I Need to Start a Vermicomposting Bin?
A beginner vermicomposting bin typically starts with about one pound of red wiggler worms, roughly a thousand worms, which is enough to process a modest amount of daily kitchen scraps.
Do Vermicomposting Worms Multiply on Their Own?
Vermicomposting worms multiply readily on their own in a healthy bin, with red wigglers capable of roughly doubling their population every few months under good conditions.
Is Vermicompost Better Than Regular Compost?
Vermicompost is generally more nutrient-concentrated than regular compost, since the worm digestion process breaks material down into a more readily available form for plant roots.