
Man Shares His Trick for Perfectly Setting Wood Posts

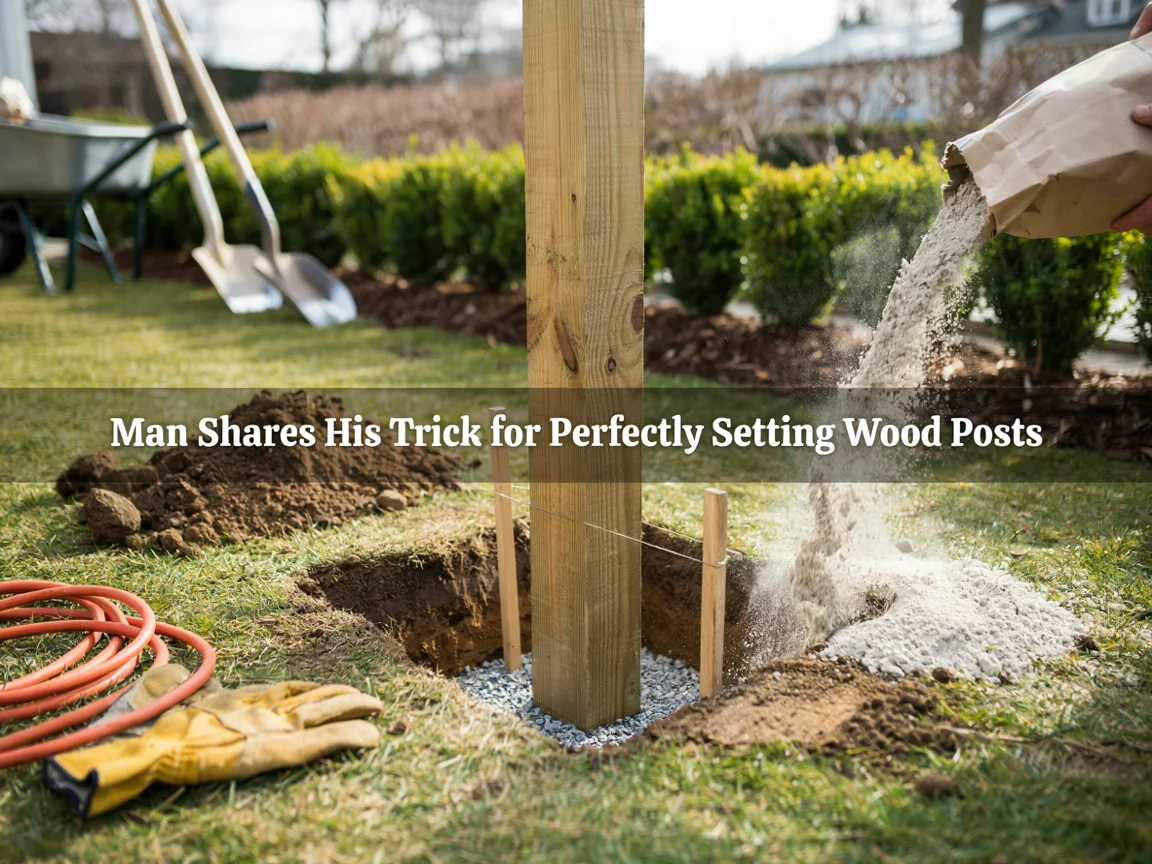
I learned how to set a wood post properly from a man who had done it about ten thousand times, and I have never forgotten what he told me. I was young, sweating over a fence line, mixing barrow after barrow of concrete and still ending up with posts that leaned, wobbled, or rotted out within a few years. He watched me struggle for a while, then walked over, crouched down, and showed me a handful of small changes that completely transformed my results and, crucially, made the whole job faster and easier at the same time. The heart of it was almost absurdly simple: stop fighting the concrete, protect the wood from water, and never trust your eye when a tool can do the job. Since that day, my posts have gone in plumb, solid, and long-lasting every single time. This is that trick, passed on, so you can set wood posts perfectly without the frustration I put myself through.
Perfectly setting wood posts means combining a few key techniques: a gravel drainage base, correct concrete method, precise plumb alignment, secure bracing, and a water-shedding finish so that each post goes in vertical, rock-solid, and protected against the rot that fells most fence posts. Over the years I have set posts for fences, gates, pergolas, and garden structures, and the difference between a frustrating job and a perfect one comes down to the same handful of steps every time. In this article, I am sharing the complete method, including the one clever trick that makes it all easier.
Why Wood Posts Fail and What Perfect Setting Prevents
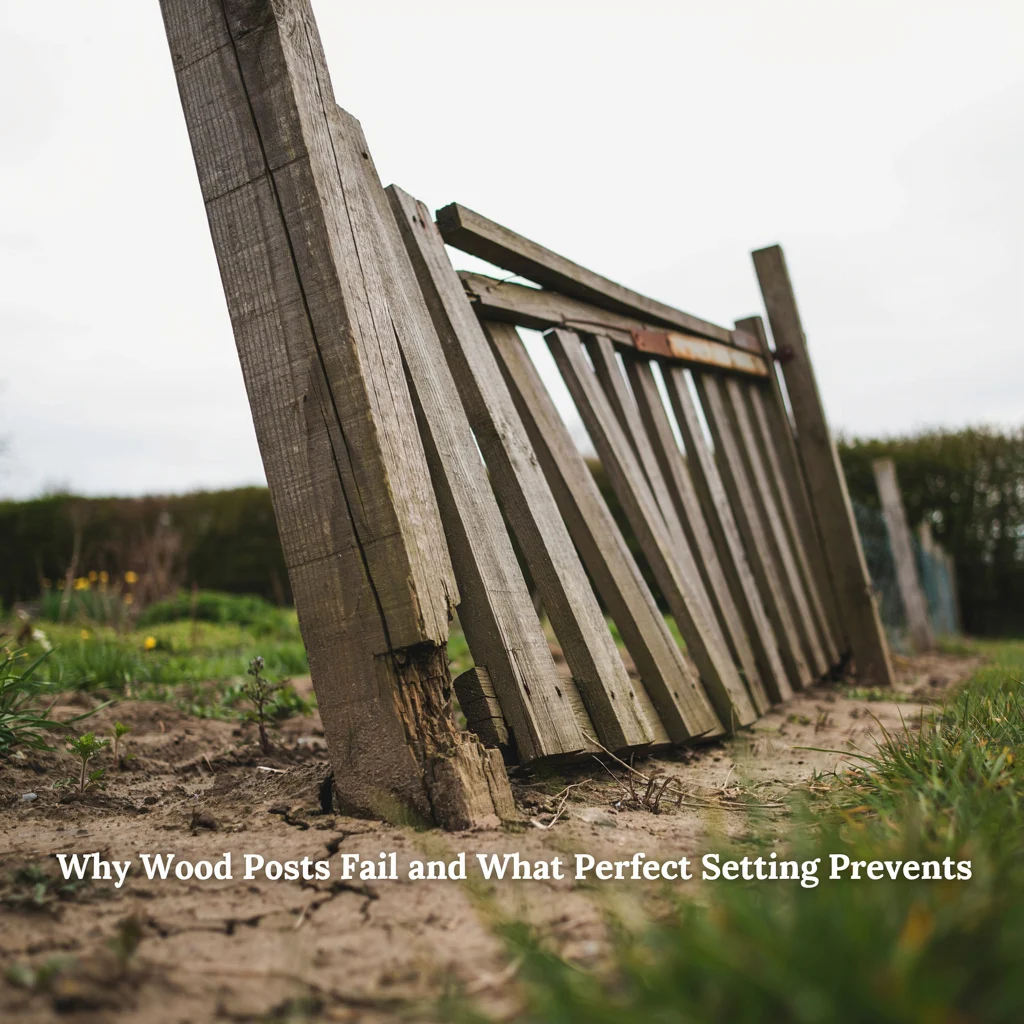
Understanding why wood posts fail tells you exactly what perfect setting needs to prevent. The two great enemies of a wood post are movement and water. A post that is not set solidly and plumb will lean and wobble over time, throwing the whole fence out of line, while a post whose base sits in trapped water will rot from the bottom up and fail within a few years no matter how strongly it was set. Getting a post perfectly set therefore means achieving two things at once: a firm, plumb, immovable anchor, and a base that stays as dry as possible. Almost every trick that follows is aimed at one or both of these goals.
The Gravel Base Trick That Prevents Rot
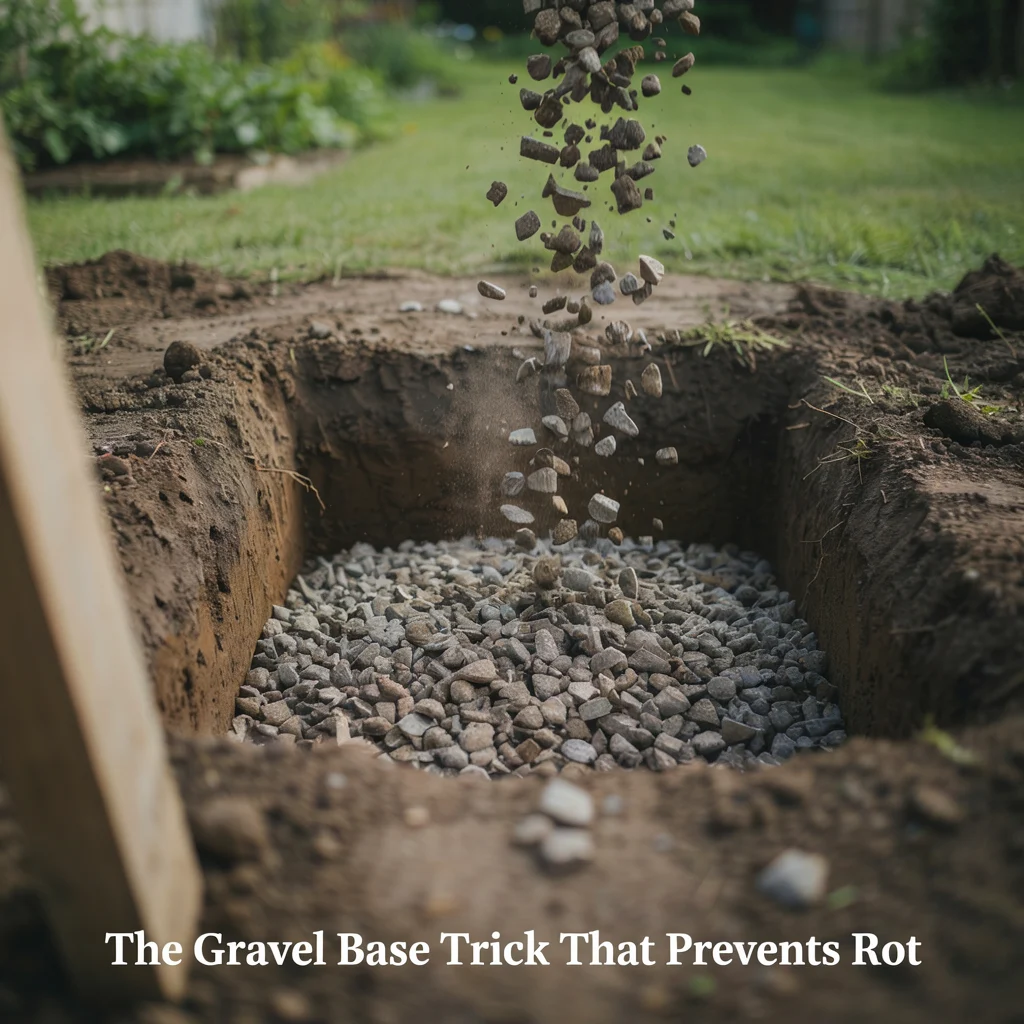
The single most valuable trick I was taught is to add a gravel drainage layer at the bottom of the post hole before the post goes in. Instead of sitting the wood directly on soil or concrete where water collects, you put a few inches of gravel or crushed stone in the base of the hole and stand the post on that. This allows water that runs down the post to drain away from the base rather than pooling around it, which is the number one cause of premature post rot. It is a tiny extra step that costs almost nothing, yet it can add years to the life of a wood post, and it is the change that made the biggest difference to my own results.
The Dry-Concrete Method That Skips the Mixing
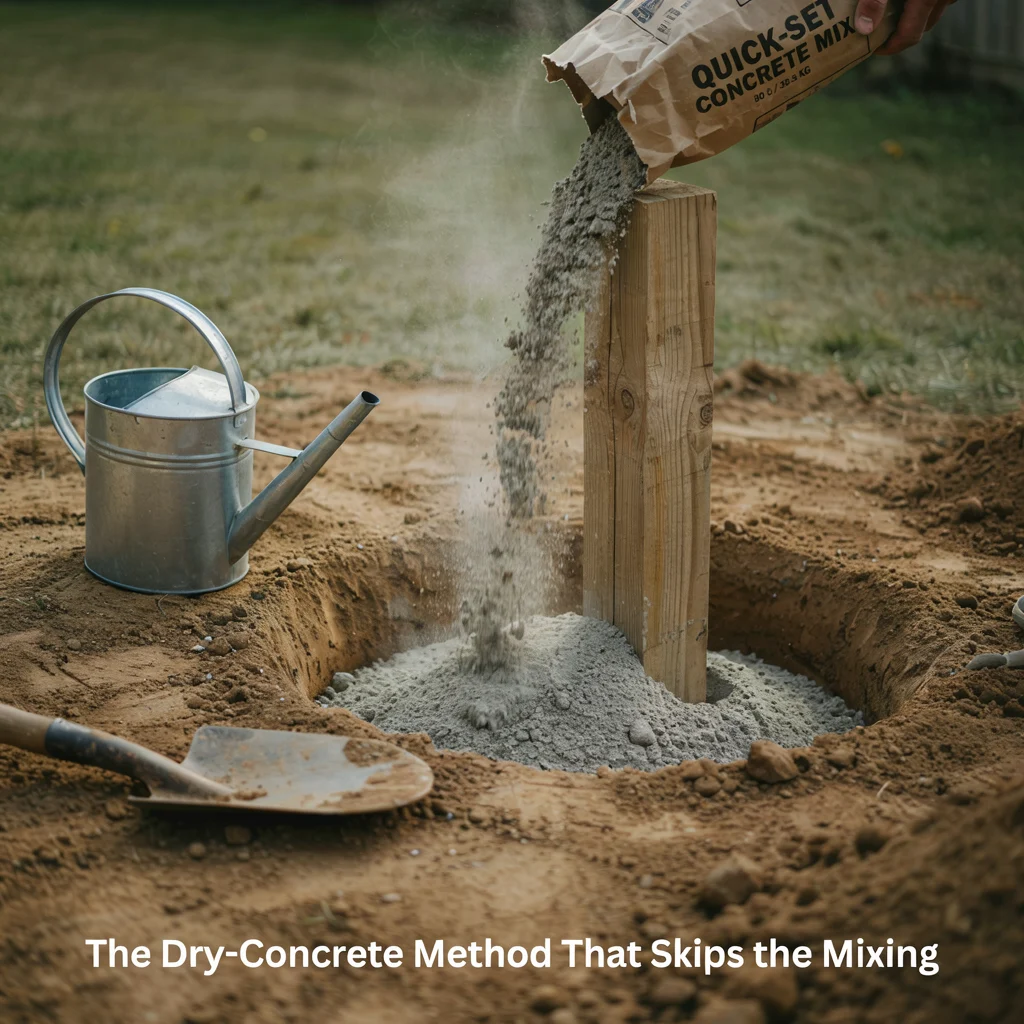
The trick that saves the most time and effort is using quick-set dry concrete poured straight into the hole. Rather than mixing barrows of wet concrete, you brace the post in position, pour the dry fast-setting concrete mix directly into the hole around it, and add water on top according to the product instructions — or, in damp ground, let the moisture from the surrounding soil begin the set. This eliminates the messy, back-breaking mixing entirely, sets fast, and holds the post firmly. It is the trick most people are amazed by, because it turns the hardest part of the job into one of the easiest, letting you set post after post quickly and cleanly.
Getting the Post Perfectly Plumb
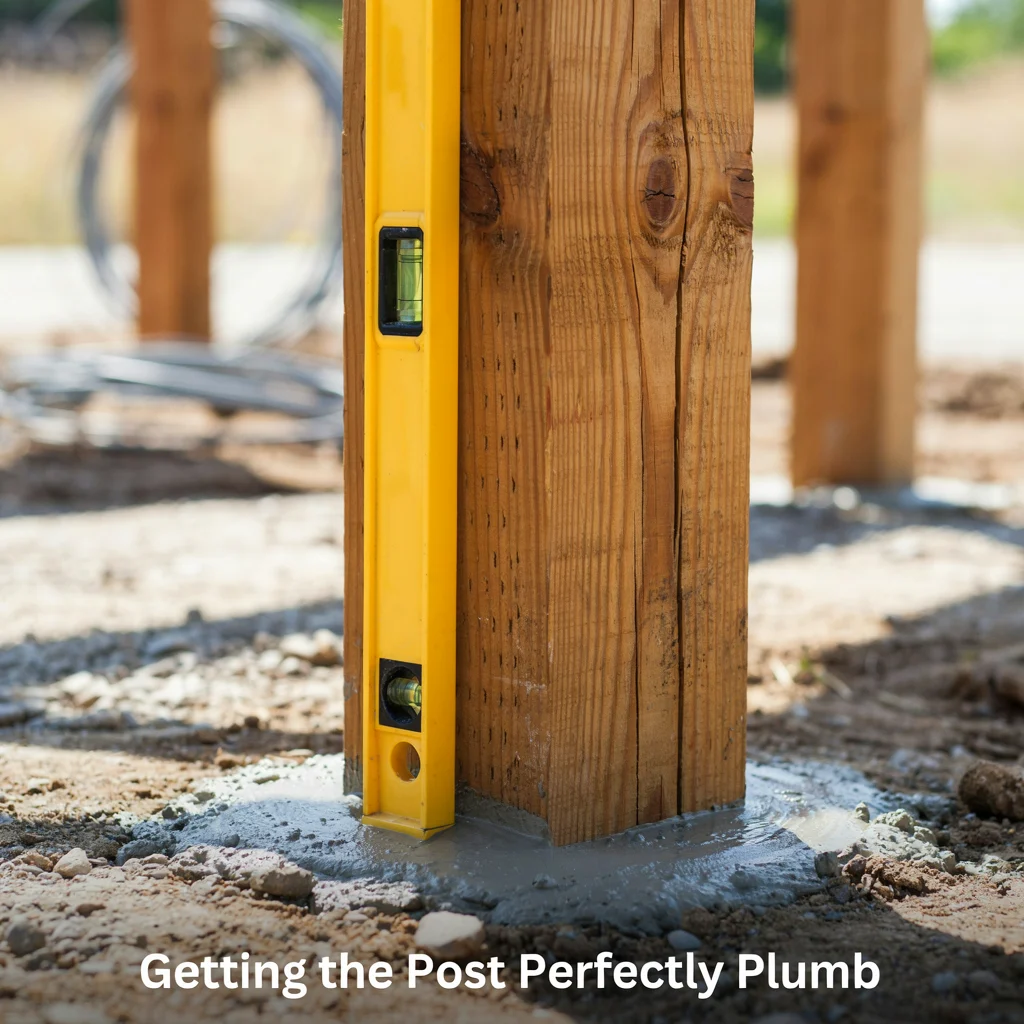
A post that is even slightly off-vertical shows badly along a fence line, so the trick here is simple: never trust your eye, use a post level. A post level is an inexpensive tool that straps around the post and shows plumb on two faces at once, so you can check the post is perfectly vertical from every angle without a second pair of hands. Set the post, check it with the level on adjacent faces, adjust until both bubbles are centred, then brace it before the concrete sets. Checking plumb properly at this stage — and rechecking just before the concrete goes off — is what separates a professional-looking result from a fence full of subtly leaning posts.
Bracing the Post While It Sets
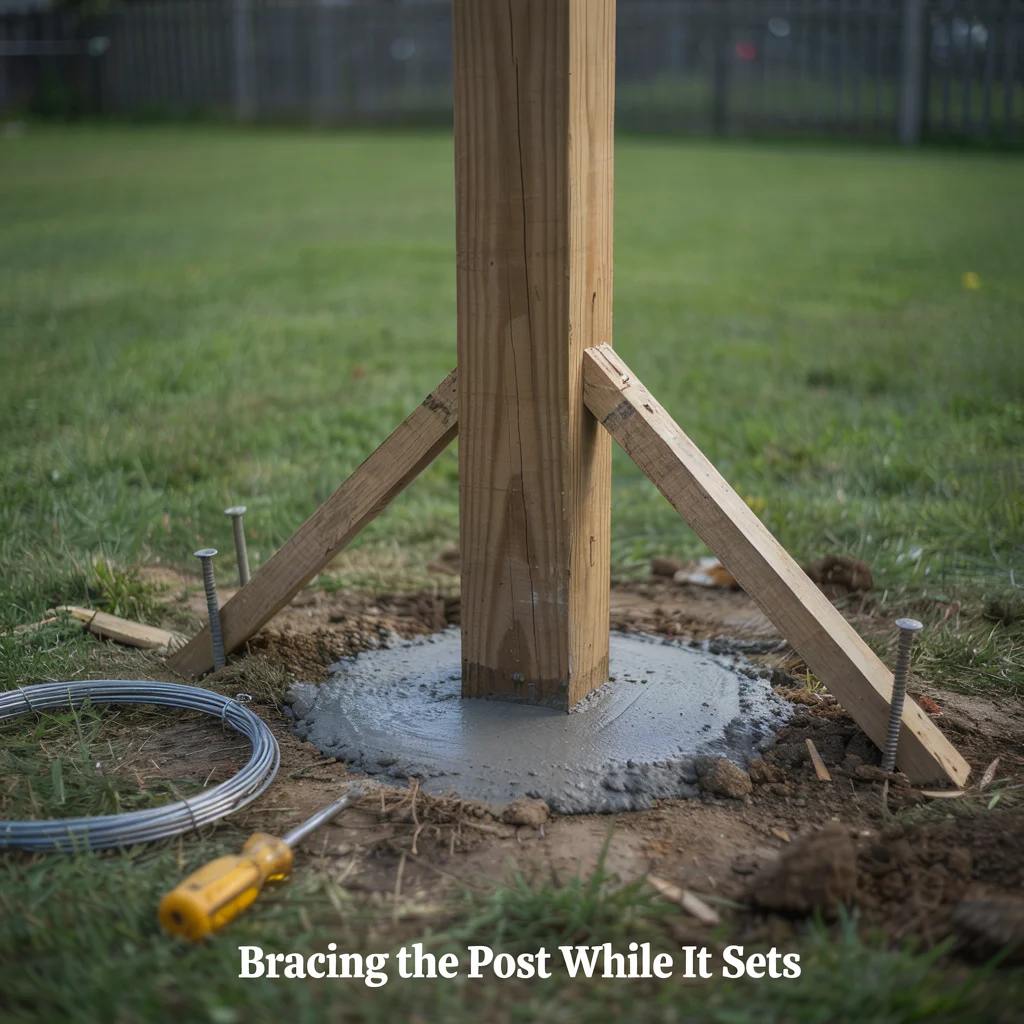
Even a perfectly plumb post is useless if it shifts while the concrete cures, which is why temporary bracing is essential. Once the post is level, fix two lengths of scrap timber to the post at roughly right angles to each other, running down to stakes or weights on the ground, so the post is held firmly in position from two directions. This keeps the post from being knocked out of plumb while the concrete sets, and it frees your hands to work. Leave the bracing in place until the concrete has fully cured before hanging any fence panels, gates, or loads on the post, which ensures the perfect alignment you set is the alignment it keeps.
The Finishing Trick That Sheds Water
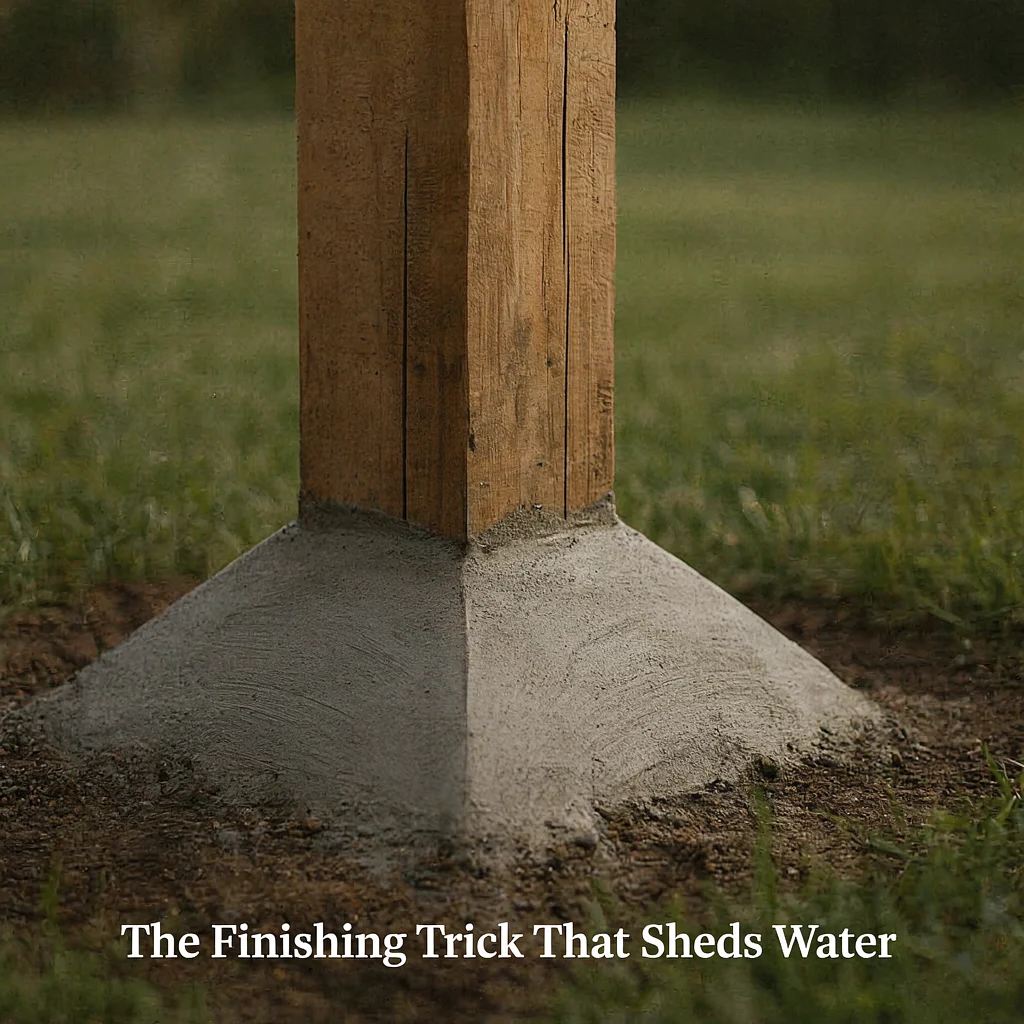
The final trick is all about protecting the post for the long term: crown the concrete to shed water away from the wood. As the concrete sets around the base of the post, shape the top surface so it slopes gently downward and outward, away from the post on all sides, forming a slight crown or dome rather than a flat or dished top. This simple bit of shaping directs rainwater away from the vulnerable point where the wood meets the concrete, instead of letting it pool there and soak into the base, which is exactly where rot begins. Combined with the gravel base below, this water-shedding crown on top means water is kept away from the post from both directions, giving you a post that stays solid for many years.
Readers working on this often also check Vermicomposting for Beginners: Turn Kitchen Scraps into Garden Gold, How to Build a Pet-Friendly Garden, and Mini Garden Ideas That Fit Any Space. For related ideas, see our articles on Outdoor Plant Pots Showing Their Age? Transform Them With Spray Paint!, How to Build a Bird Feeder Pole, and Why Lilacs Should Be Pruned Right After Blooming. This pairs well with The Best Trees to Plant in Your Yard and How to Plant and Cultivate a Japanese Maple Tree.
Frequently Asked Questions
What is the best way to set a wood post? The best way to set a wood post combines a gravel drainage base at the bottom of the hole, a firm concrete anchor, precise plumb alignment, secure bracing while it sets, and a water-shedding crown of concrete around the base. You dig the hole, add a few inches of gravel for drainage, stand the post on it, brace it plumb using a post level, then pour concrete around it and shape the top to slope water away. This method achieves the two things a perfect post needs — a solid, immovable anchor and protection from the trapped water that causes rot — giving you a post that stays vertical and lasts for years.
Should you use dry or wet concrete for fence posts?
You can use either, but quick-set dry concrete poured straight into the hole is the trick many people prefer because it eliminates the mixing entirely. With the dry method you brace the post in position, pour the fast-setting mix around it, and add water on top per the instructions, or let damp soil begin the set, which is far faster and cleaner than mixing barrows of wet concrete. Wet concrete works perfectly well too and gives you more working time, but for speed, convenience, and setting multiple posts quickly, the dry-pour fast-setting method is the one that saves the most effort while still holding the post firmly.
How do you keep a fence post from rotting?
You keep a fence post from rotting mainly by keeping water away from its base, which is why a gravel drainage layer at the bottom of the hole and a crowned, water-shedding concrete finish at the top are so important. The gravel lets water drain away from the post base instead of pooling there, and the sloped concrete crown directs rainwater away from the point where wood meets concrete, the two places where rot usually starts. Using pressure-treated or naturally durable timber, keeping the post base above any standing water, and avoiding a dished concrete top that traps moisture all further protect the post and dramatically extend its life.
How do you get a fence post perfectly straight?
You get a fence post perfectly straight by using a post level rather than judging it by eye, and by bracing it before the concrete sets. A post level straps around the post and shows plumb on two faces at once, so you can adjust the post until it is perfectly vertical from every direction without help, then you fix temporary braces from two angles to hold it in position while the concrete cures. Checking plumb when you set the post, and rechecking just before the concrete goes off, ensures the post stays exactly vertical, which is what keeps a whole fence line looking straight and professional.
How long should concrete set before removing bracing?
You should leave the temporary bracing in place until the concrete has fully cured, which with quick-set products can be a matter of hours but is safest given a good while longer before any load is applied. While fast-setting concrete firms up quickly enough to hold the post steady soon after pouring, its full strength develops over a longer period, so it is best to leave the bracing undisturbed until you are confident the concrete has properly hardened, and to wait before hanging fence panels, gates, or other loads on the post. Following the setting times on the concrete product you use is the surest guide, and a little patience here protects the perfect alignment you worked to achieve.